How to Grow Your Own Kūmara Slips
Growing your own kūmara slips is easier than many people realise. With just one kūmara and a little warmth, you can grow enough plants for an entire garden bed.
In New Zealand, kūmara slips are usually started during late winter to early spring (August and September). Starting them at this time gives the slips plenty of time to develop before planting once the soil has warmed and the risk of frost has passed.
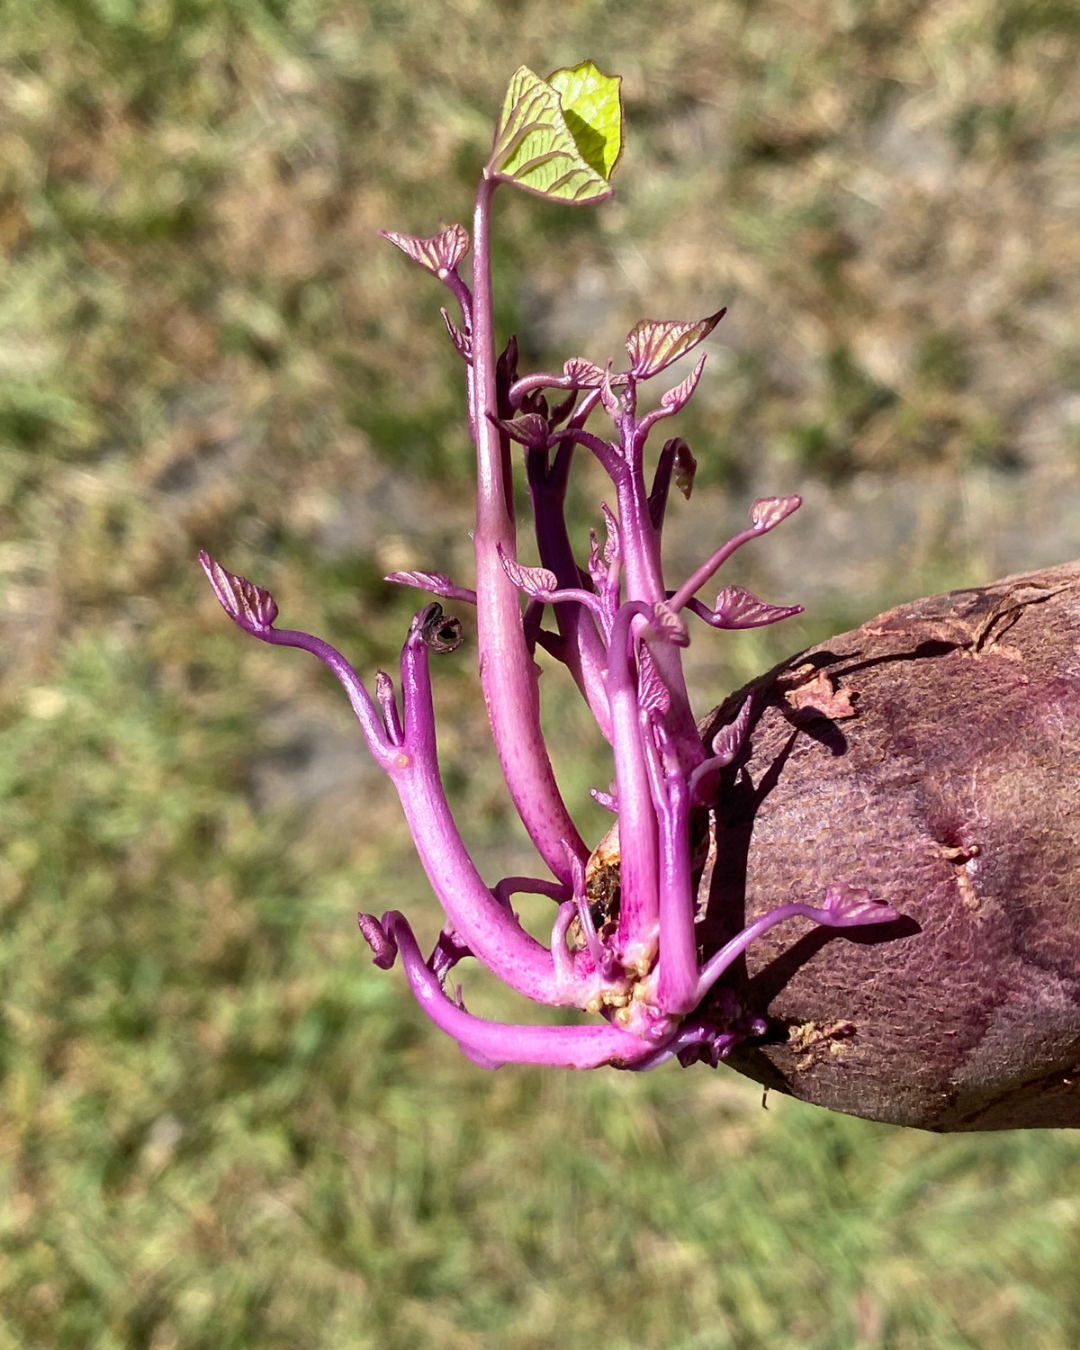
What is a Kūmara Slip?
Kūmara aren't grown from seed.
Instead, leafy shoots sprout directly from the kūmara itself. These shoots are called tupu or slips, and each one becomes a new kūmara plant.
Just one healthy kūmara can produce enough slips for an entire garden bed.
Choosing Your Kūmara
A healthy supermarket kūmara works well for most home gardeners. If you prefer, you can also use an organically grown kūmara.
Choose a firm, healthy kūmara without signs of rot or damage.

Two Easy Ways to Start Your Slips
Growing in Sandy Soil
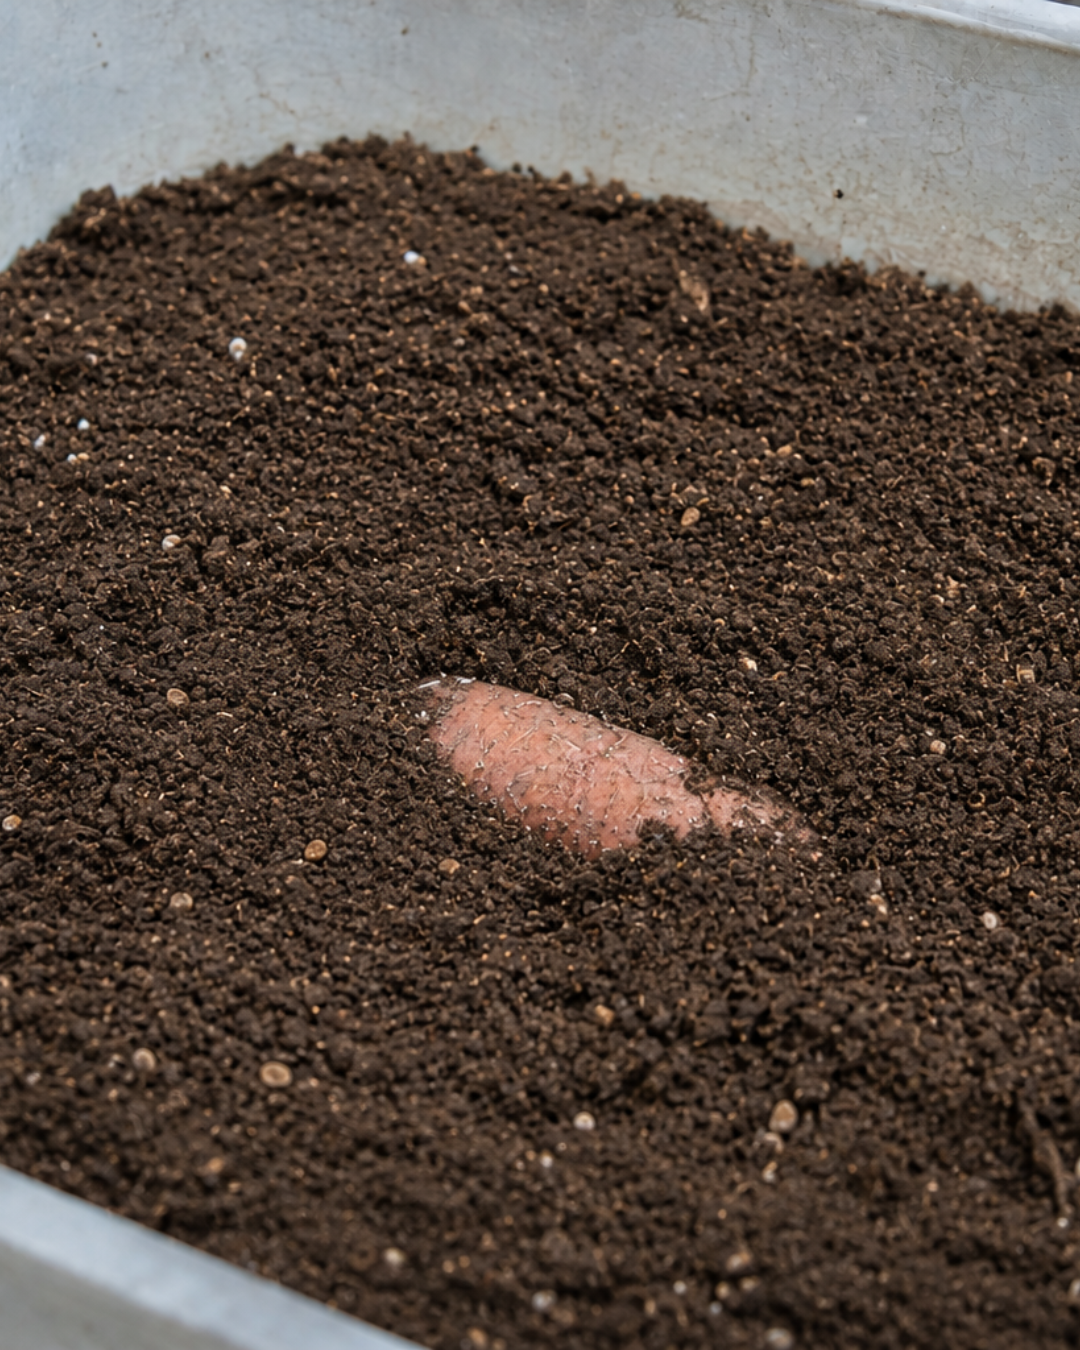
Fill a container with sandy soil mix or light, sandy soil.
Place the kūmara inside and cover it lightly with the sandy soil mix. Keep the soil lightly moist and place the container somewhere warm and bright.
Growing in Water
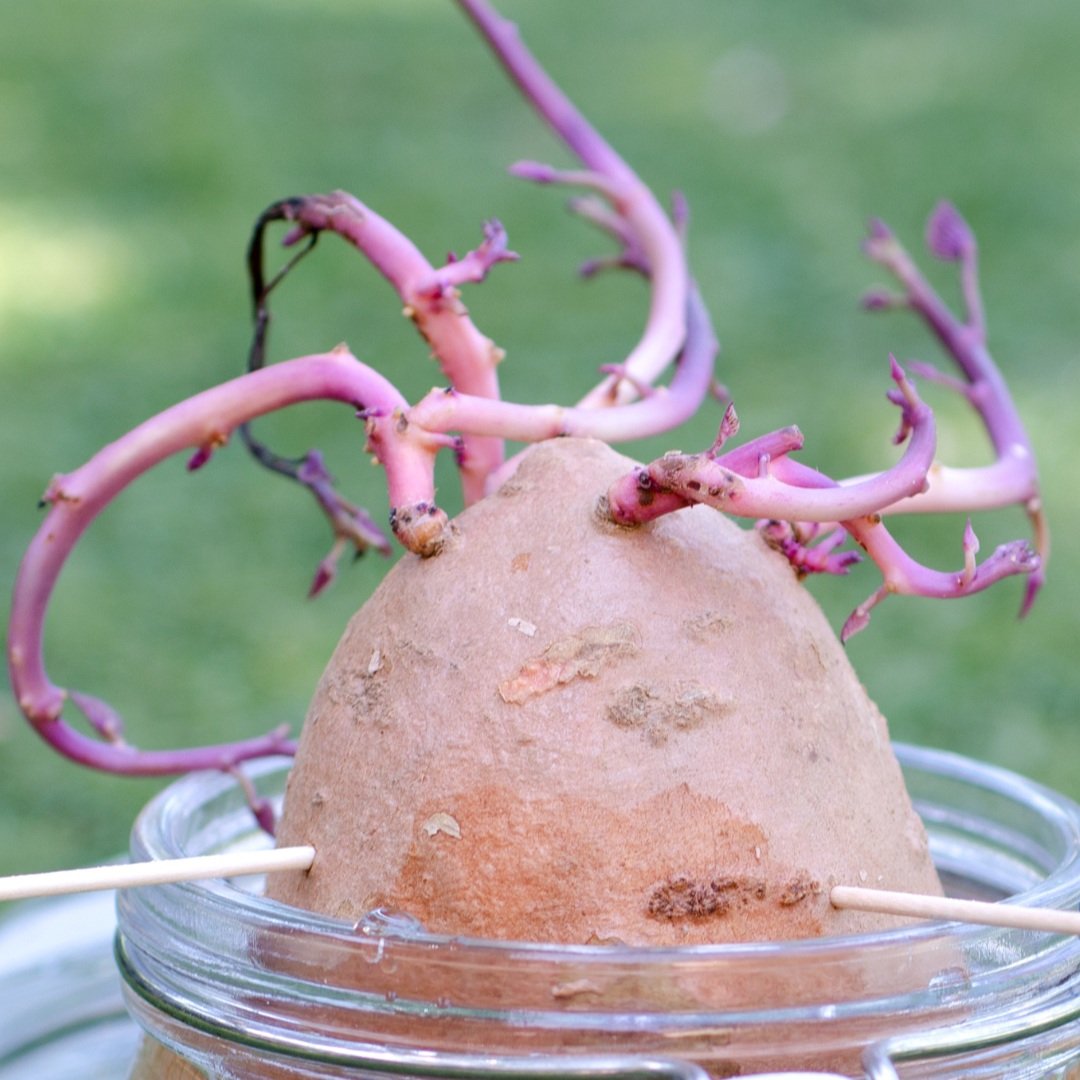
Sit the bottom half of the kūmara in a glass or jar of water, using toothpicks or the rim of the container to hold it in place.
Change the water every few days to keep it fresh, and place it somewhere warm and bright.
Both methods work well, so choose the one that suits you.
Be Patient
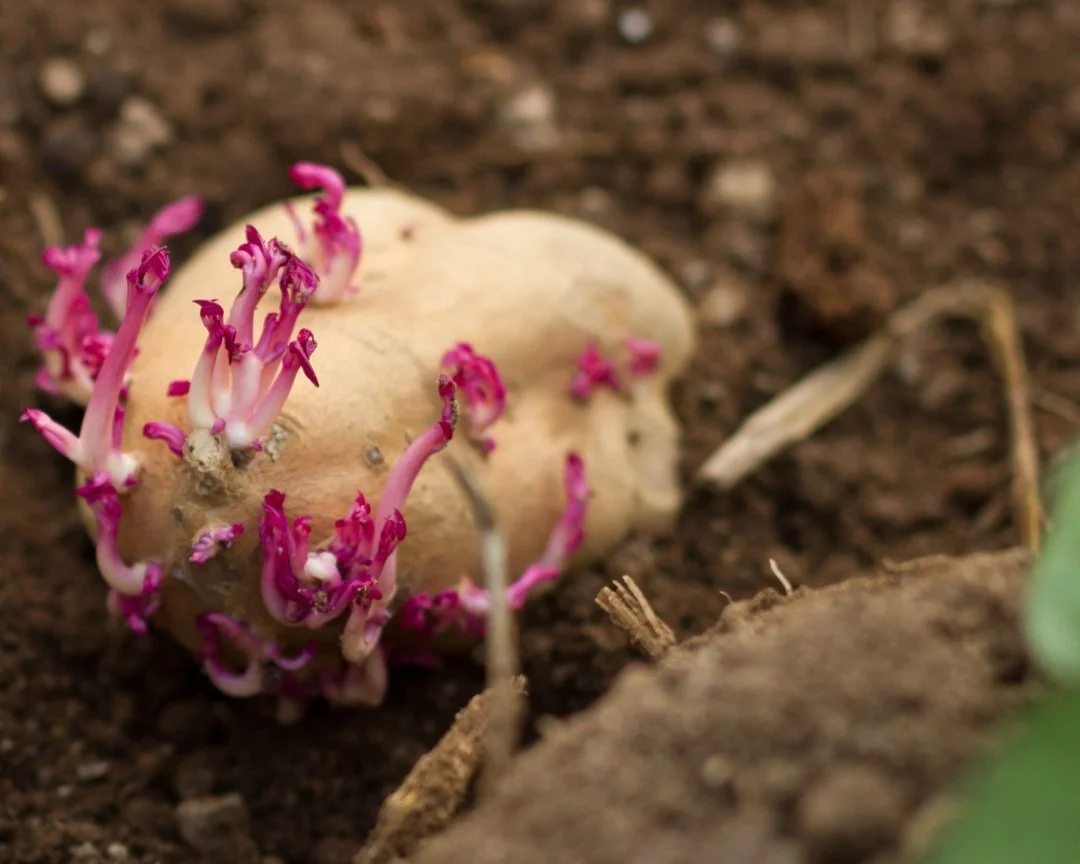
After their winter rest, kūmara can take a little time to wake up.
In a warm spot, you may see the first shoots appear within three to four weeks, while cooler conditions may take six weeks or longer.
Don't worry if nothing seems to be happening at first. As long as the kūmara stays healthy and warm, it will begin sprouting when it's ready.
Give It a Warm Start
After a cold winter, kūmara need a little warmth to wake up and begin producing slips.
The warmer they are, the quicker they'll begin to sprout.
If you're growing them in sandy soil, covering the container with a clear plastic bag or lid can help hold warmth and humidity. Just allow a little airflow and remove the cover once the shoots are growing well.
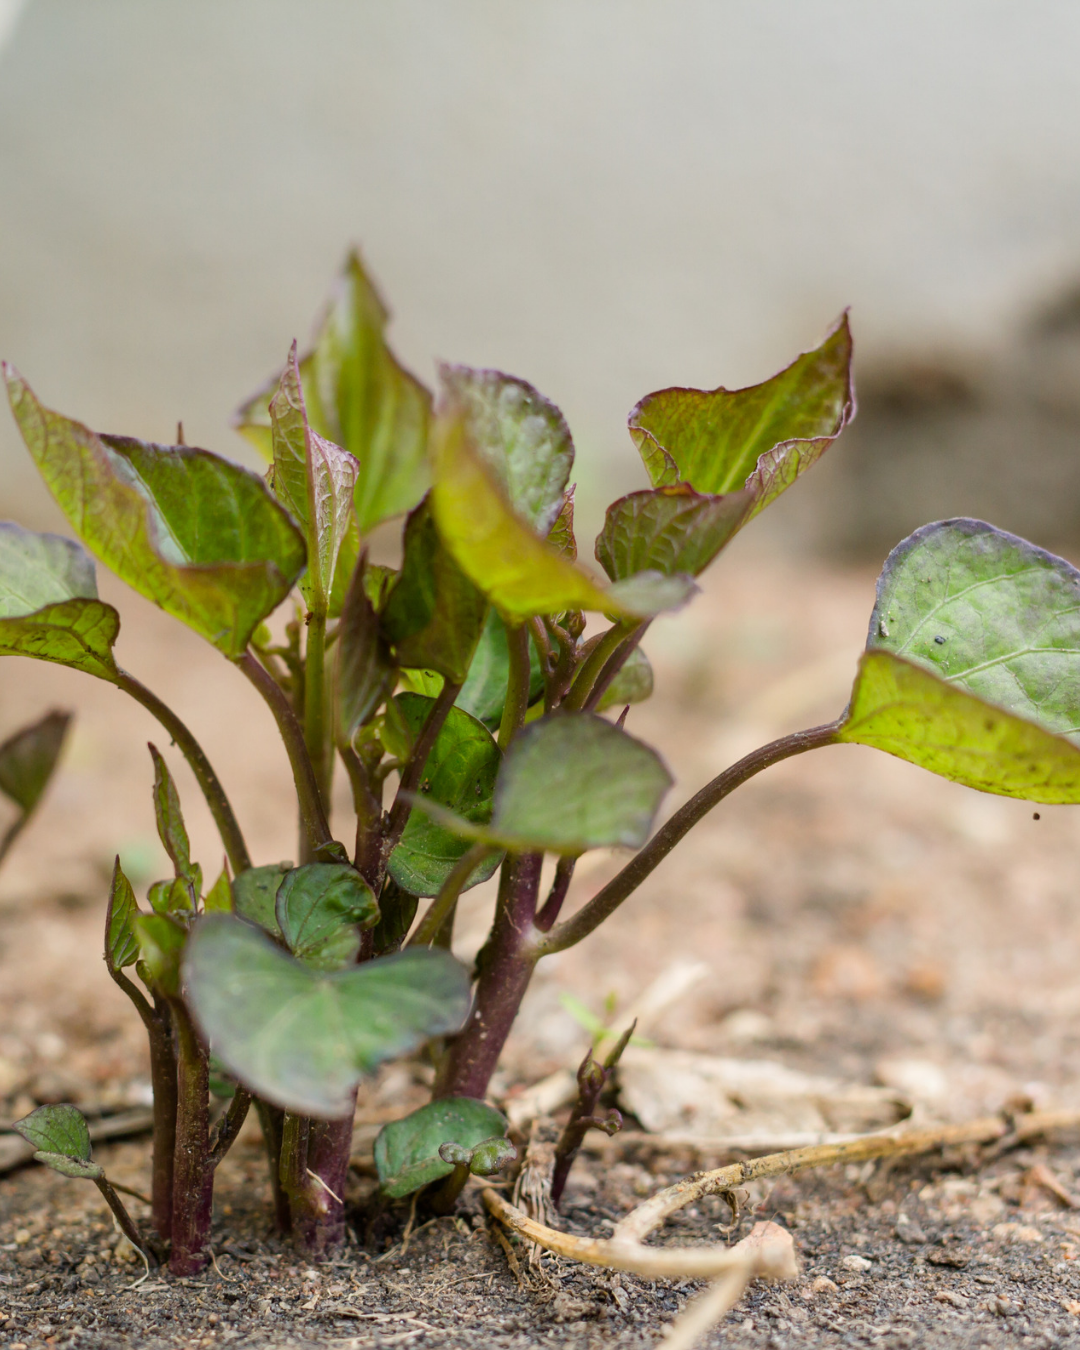
One Kūmara Can Keep Producing Slips
As you remove the larger slips, the kūmara will often continue producing more shoots over several weeks.
Keep it warm, give it plenty of light, and continue harvesting the slips as they develop.
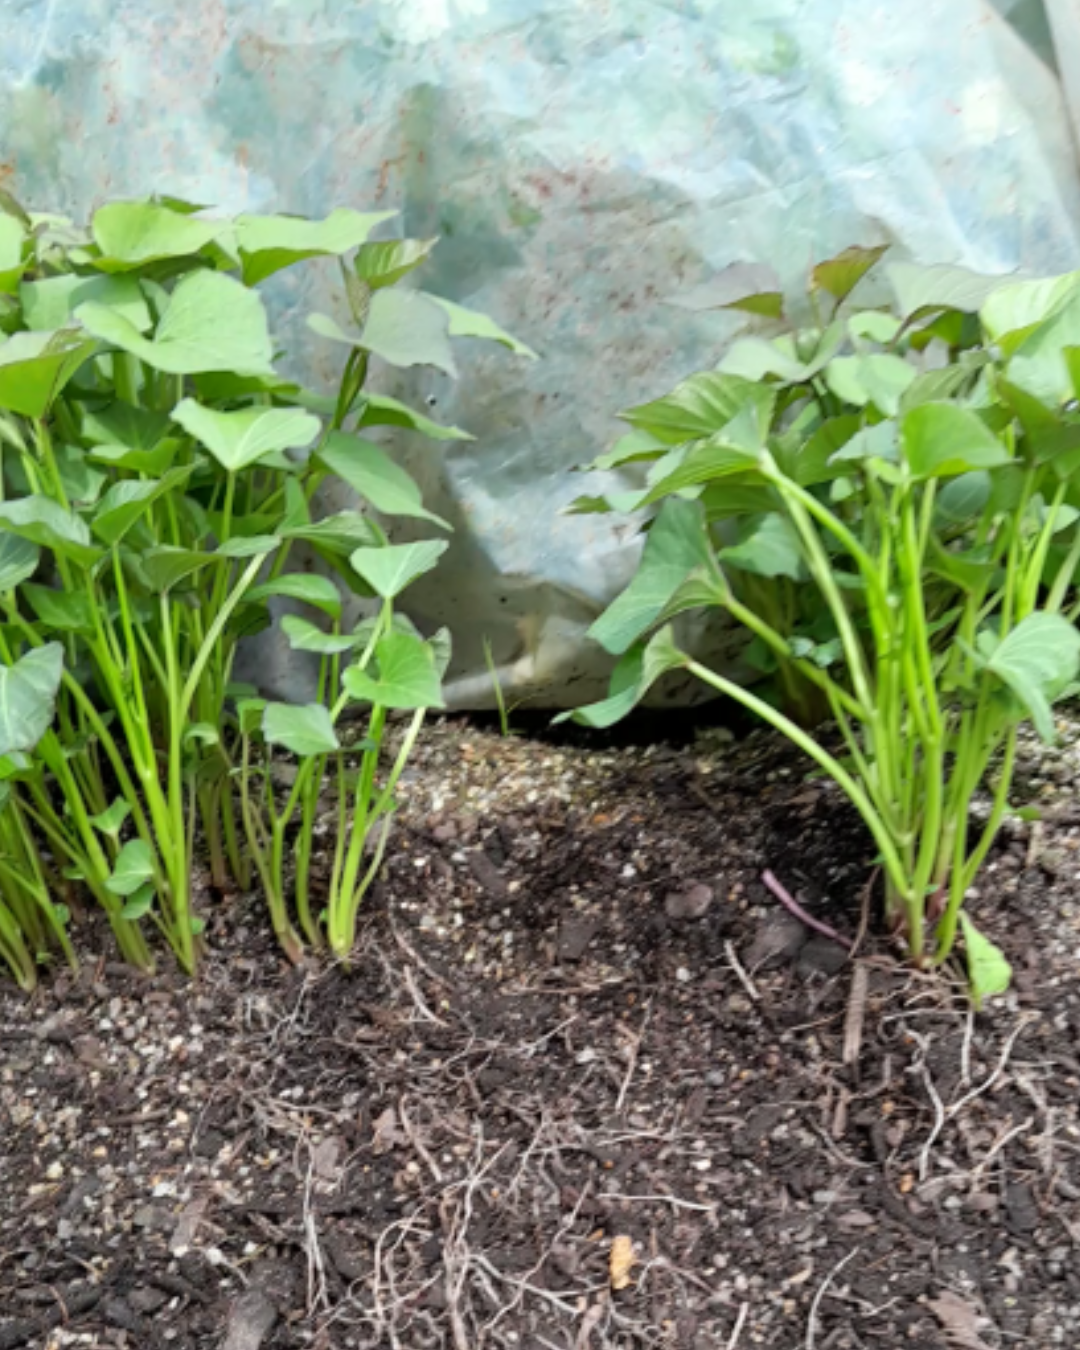
Rooting the Slips
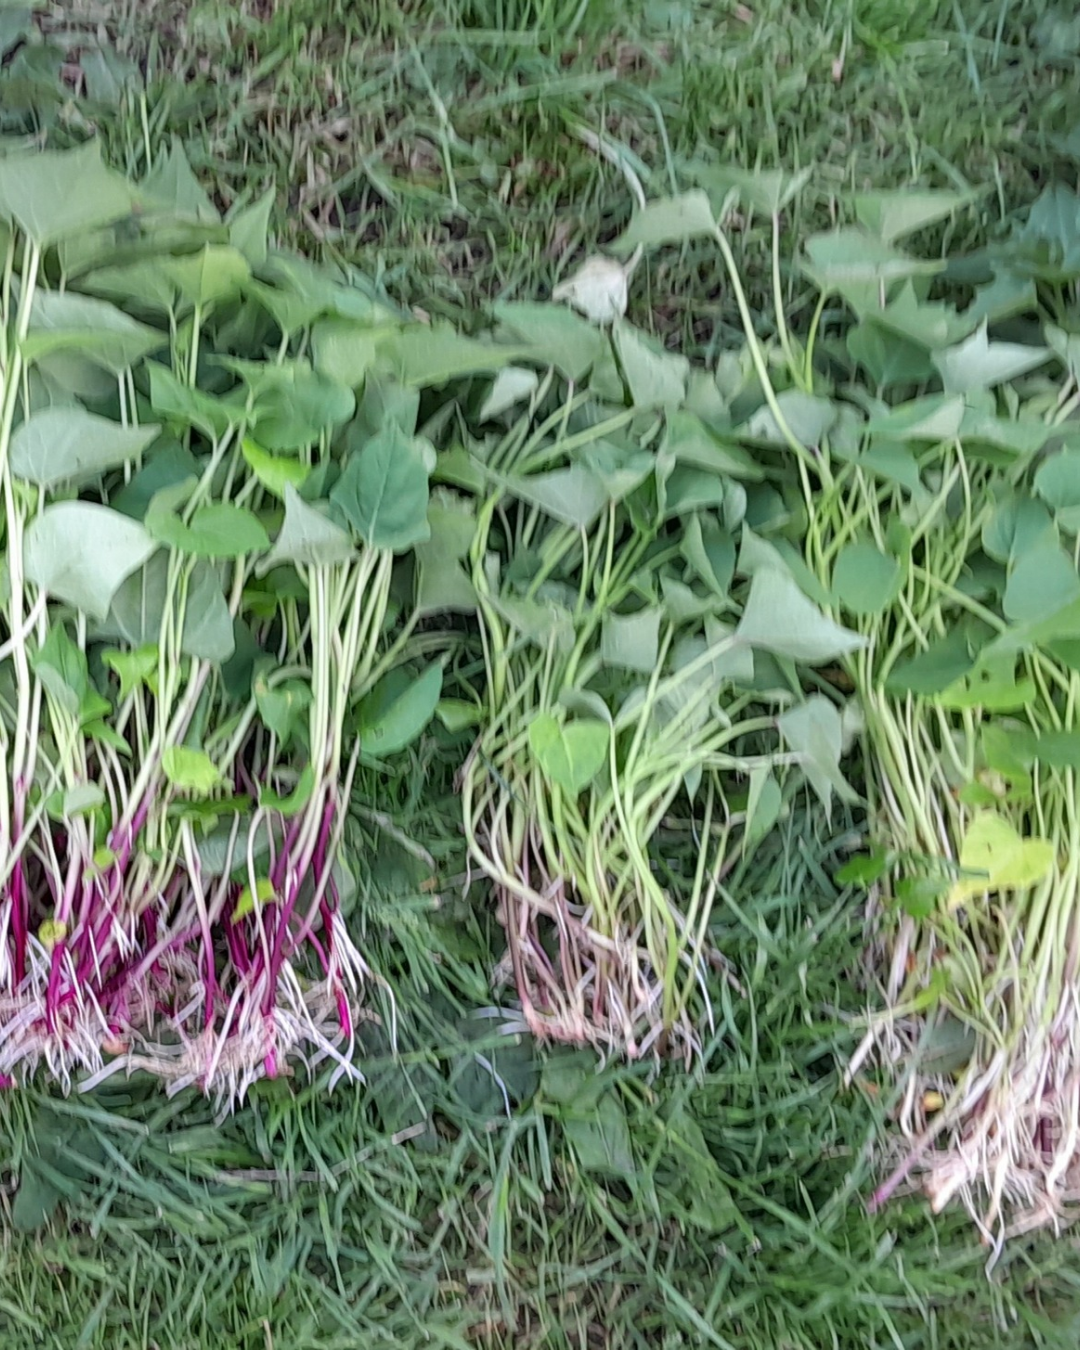
Once the slips reach about 15–20 cm long, carefully cut them close to the kūmara.
Some slips may already have small roots starting to develop. If they do, try not to damage them.
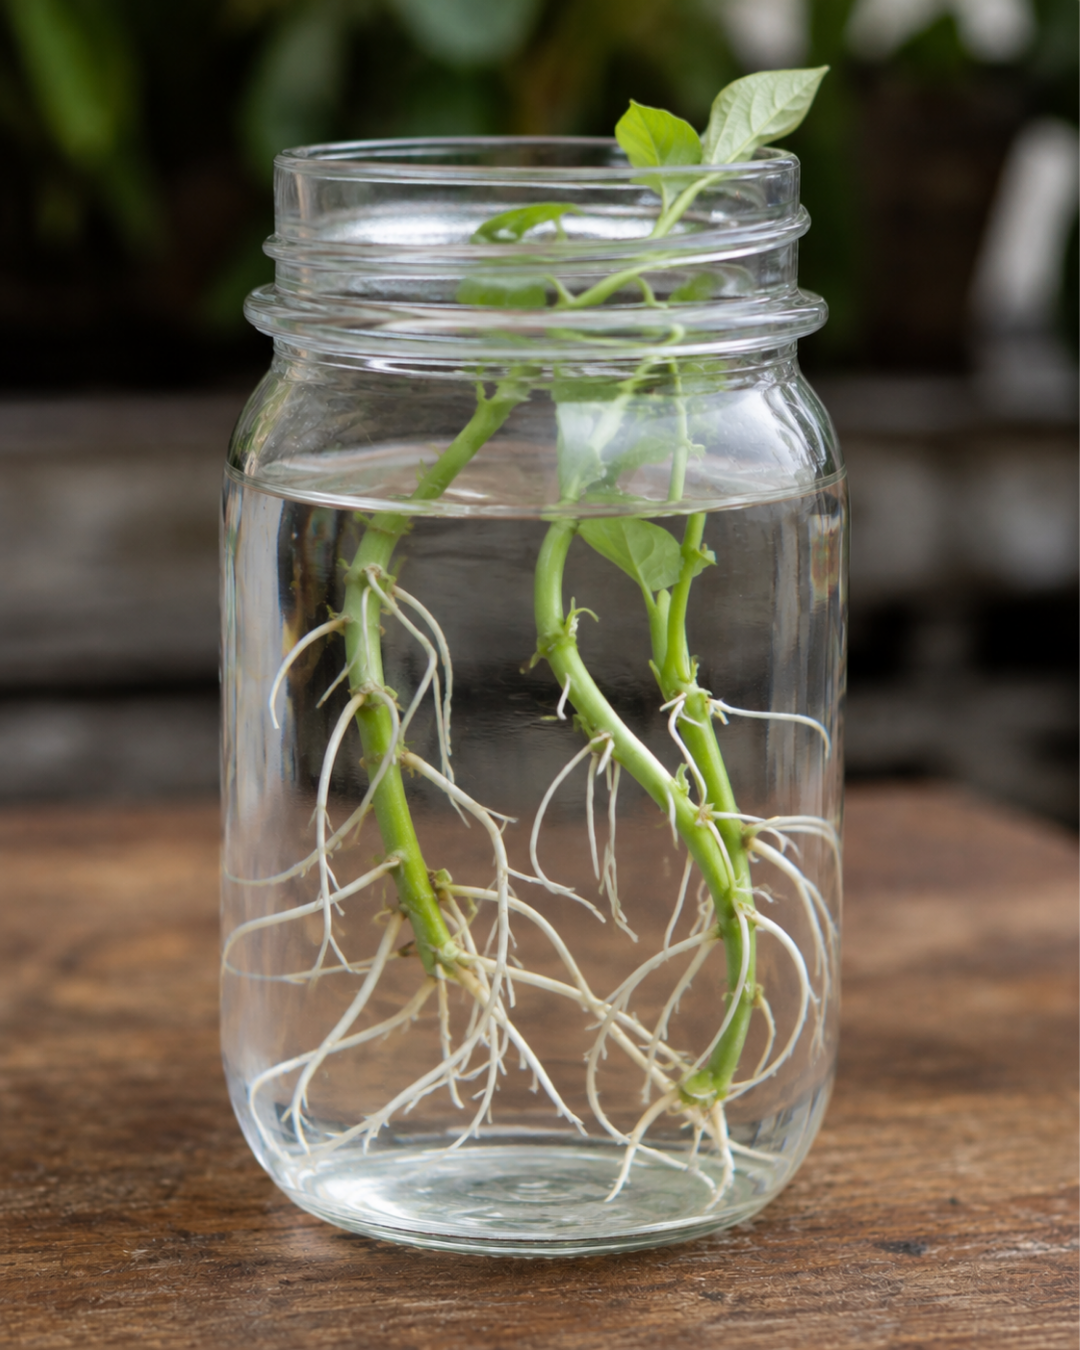
Place the slips into a glass or jar of fresh water and change the water regularly.
Within a week or two, the roots will continue to develop. The slips will happily continue growing in water until planting time. They can be planted once the risk of frost has passed.
Planting Your Slips
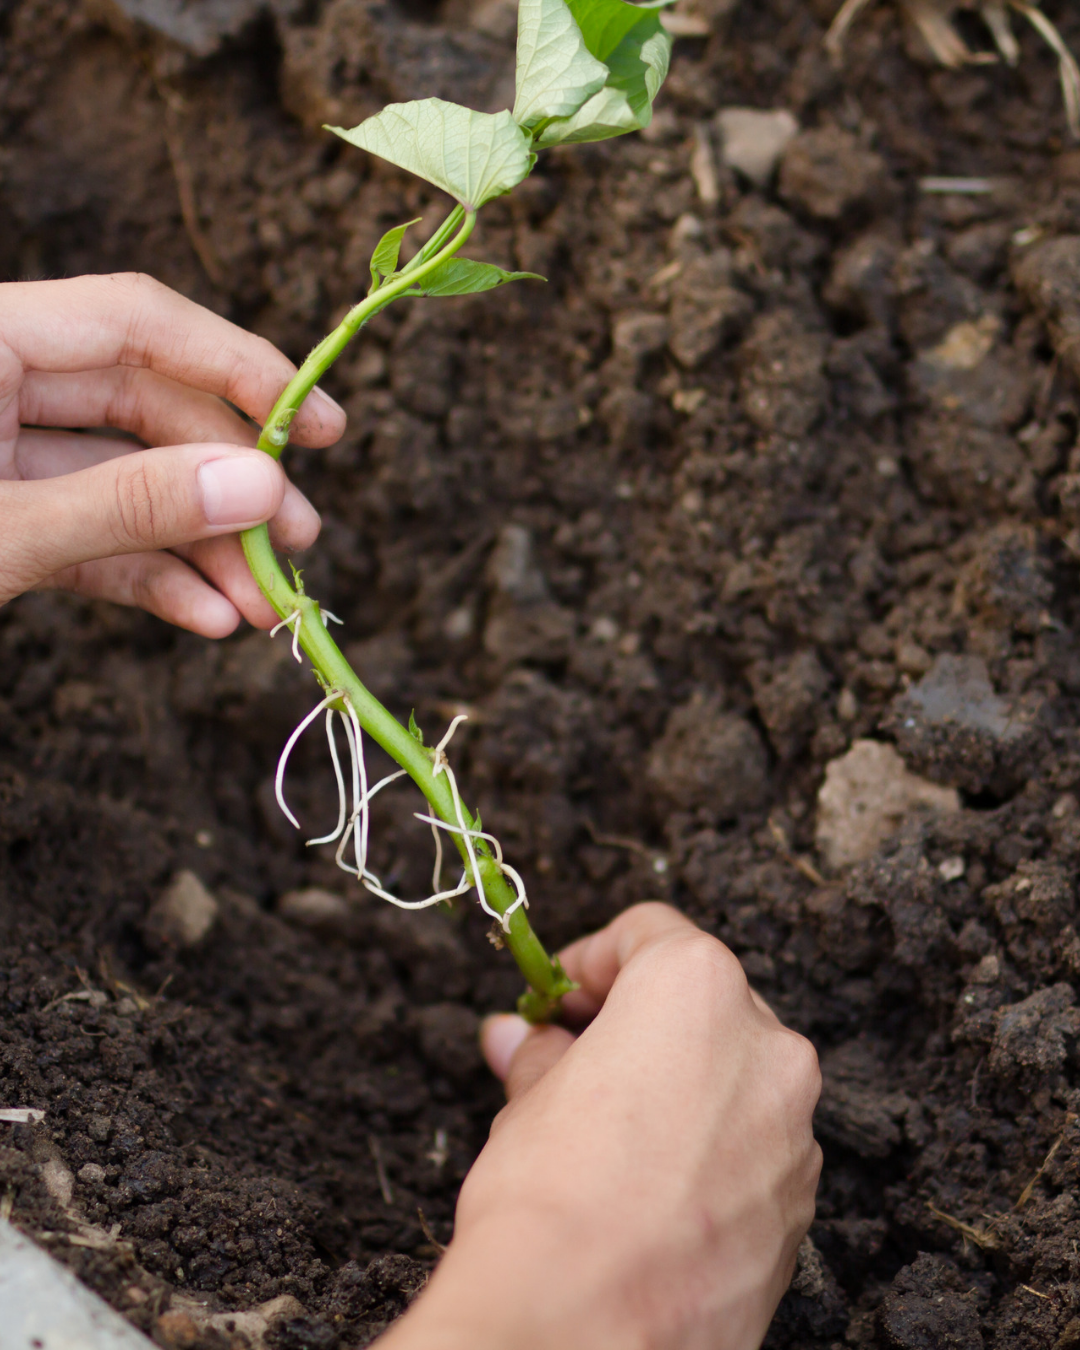
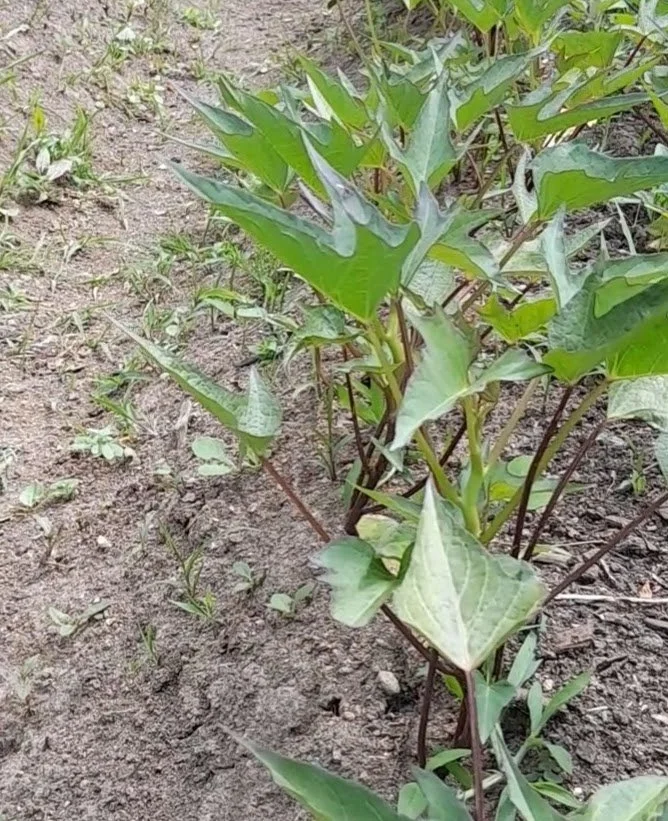
Plant your rooted slips once the risk of frost has passed and the soil has warmed.
In many parts of New Zealand, this is usually from late October through November, although it can vary depending on your local climate.
Kūmara love warm, free-draining soil, so waiting until conditions are right will give them the best possible start.
Common Mistakes
Not enough warmth — kūmara need warmth to start producing shoots, so place them somewhere warm and bright.
Too much water — the sandy soil only needs to be lightly moist, not wet or waterlogged.
Planting out too early — wait until the risk of frost has passed and the soil has warmed.
Giving up too soon — kūmara can take several weeks to begin sprouting, particularly in cooler conditions.
Quick Summary
✔ Start your slips during late winter to early spring.
✔ Keep the kūmara somewhere warm and bright.
✔ Grow it in either sandy soil or water.
✔ Cut the slips once they reach 15–20 cm long.
✔ Root the slips in water.
✔ Plant them out once the soil is warm and the risk of frost has passed.
Next Step
While your slips are growing, it’s a good time to get your kūmara patch ready. Giving the soil time to settle before planting helps create the warm, free-draining conditions kūmara love.
Next: Prepare a Bed for Kūmara
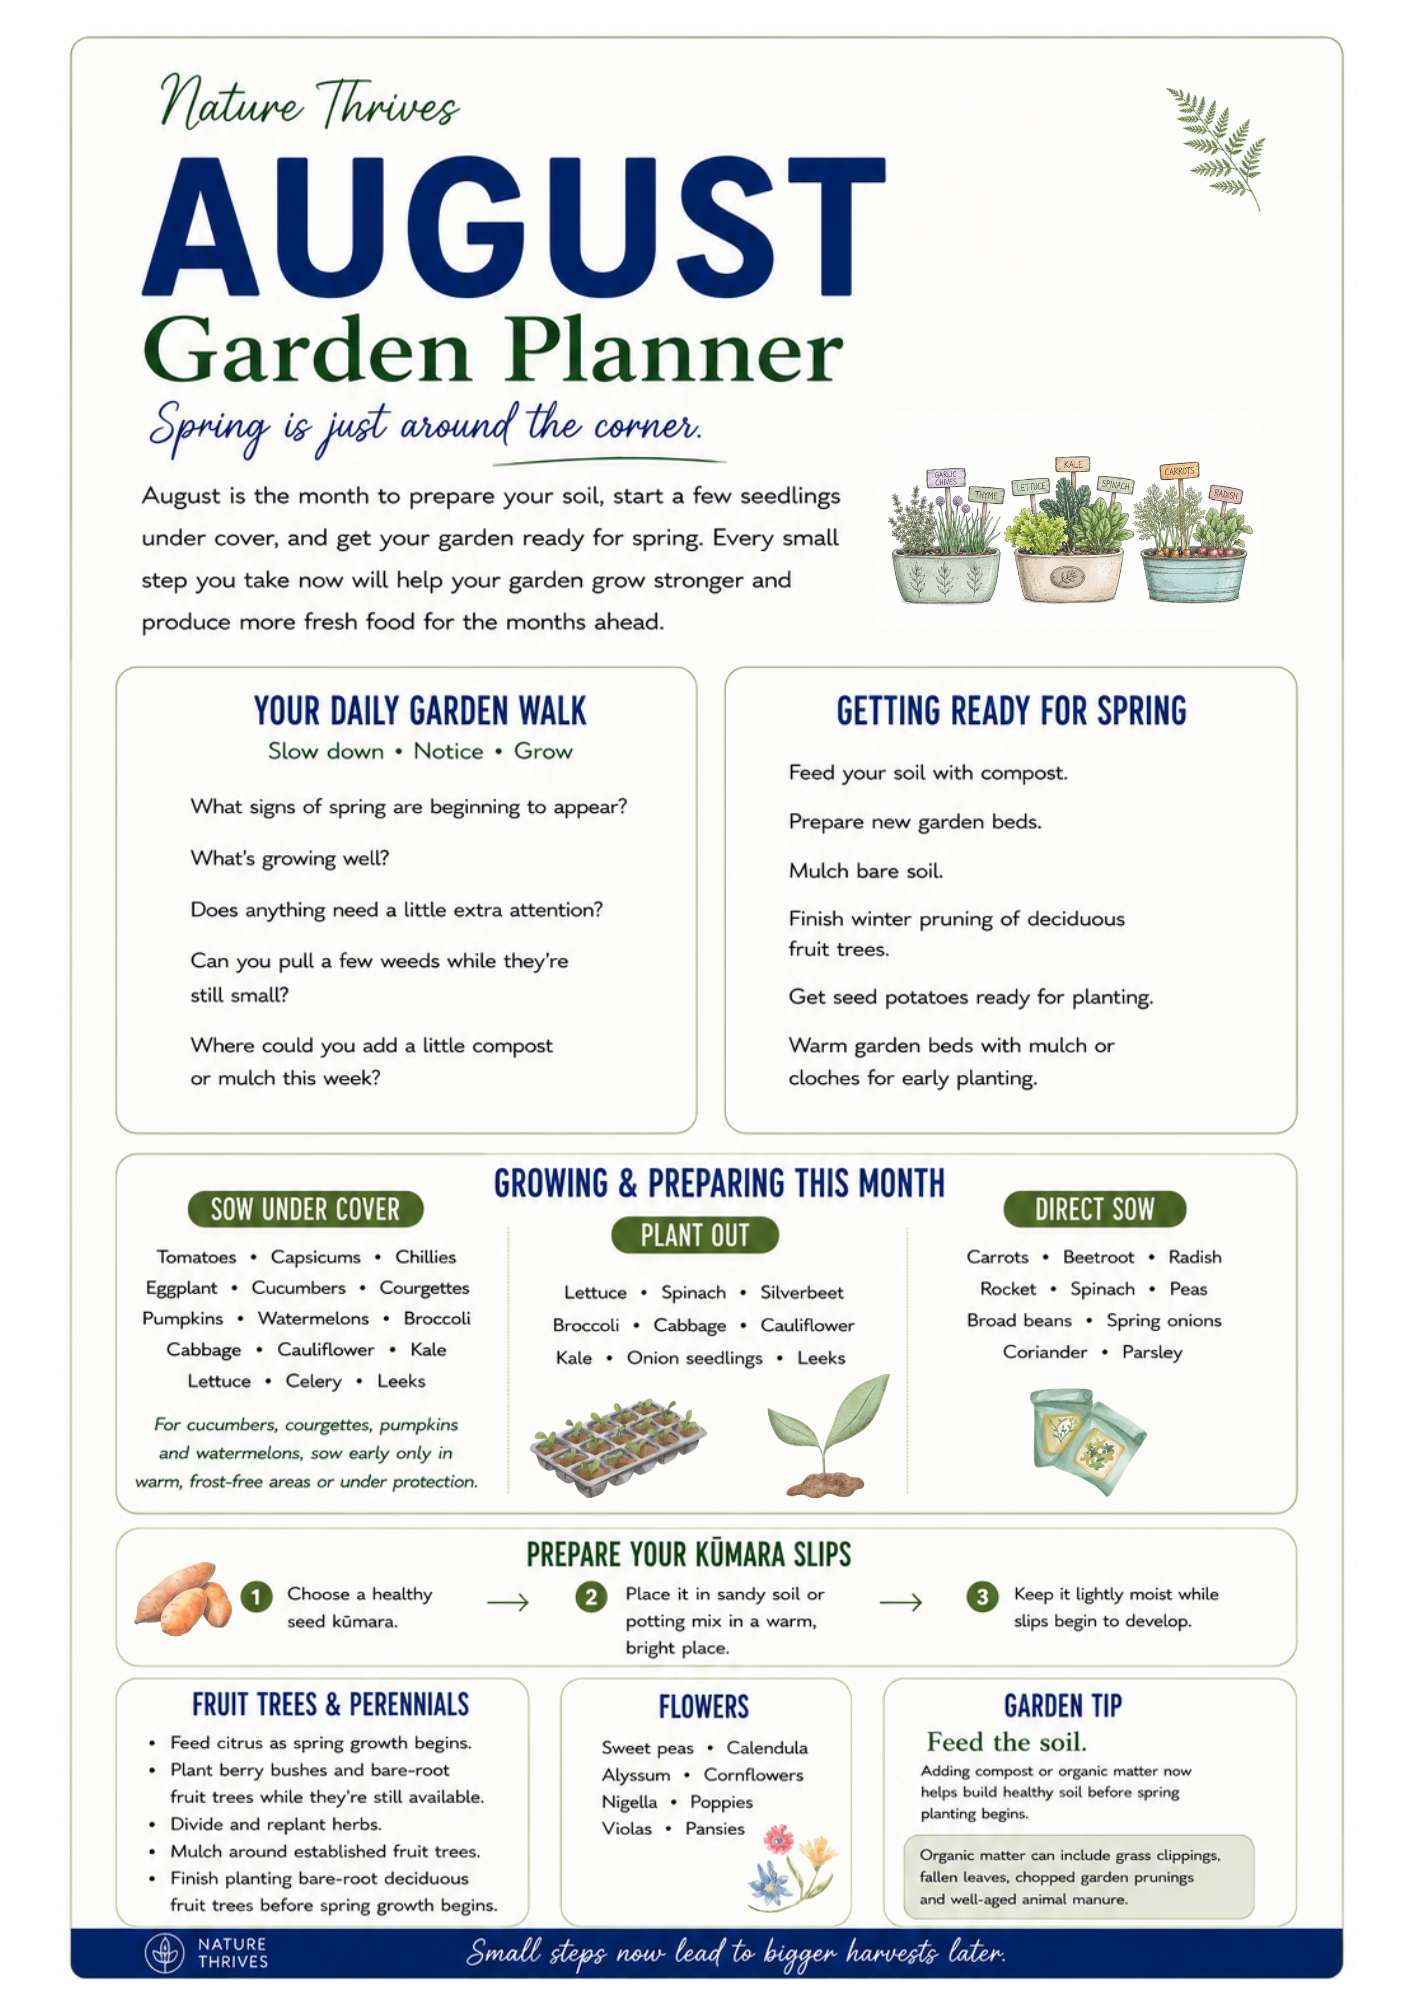
Free August Garden Planner
Not sure what else to get started in the garden this month? See what to sow, plant and prepare now.
Helping more people grow some of their own food
My goal with Nature Thrives is to make growing food feel simpler and more achievable, with practical information that’s easy to follow.
If you’ve found this guide helpful and you’re able to, joining Grow Club is one way you can help me keep creating and sharing free growing resources like this.
Keep growing with Grow Club
Grow Club gives you month-by-month seasonal garden ideas, practical tips and resources to help you know what to sow, plant and do throughout the year.
Members also get access to Nature Thrives growing guides and printable resources, with more added over time.
Your first month is free, so you can have a look inside and see if it’s for you. It’s $4.99 NZD a month after that.