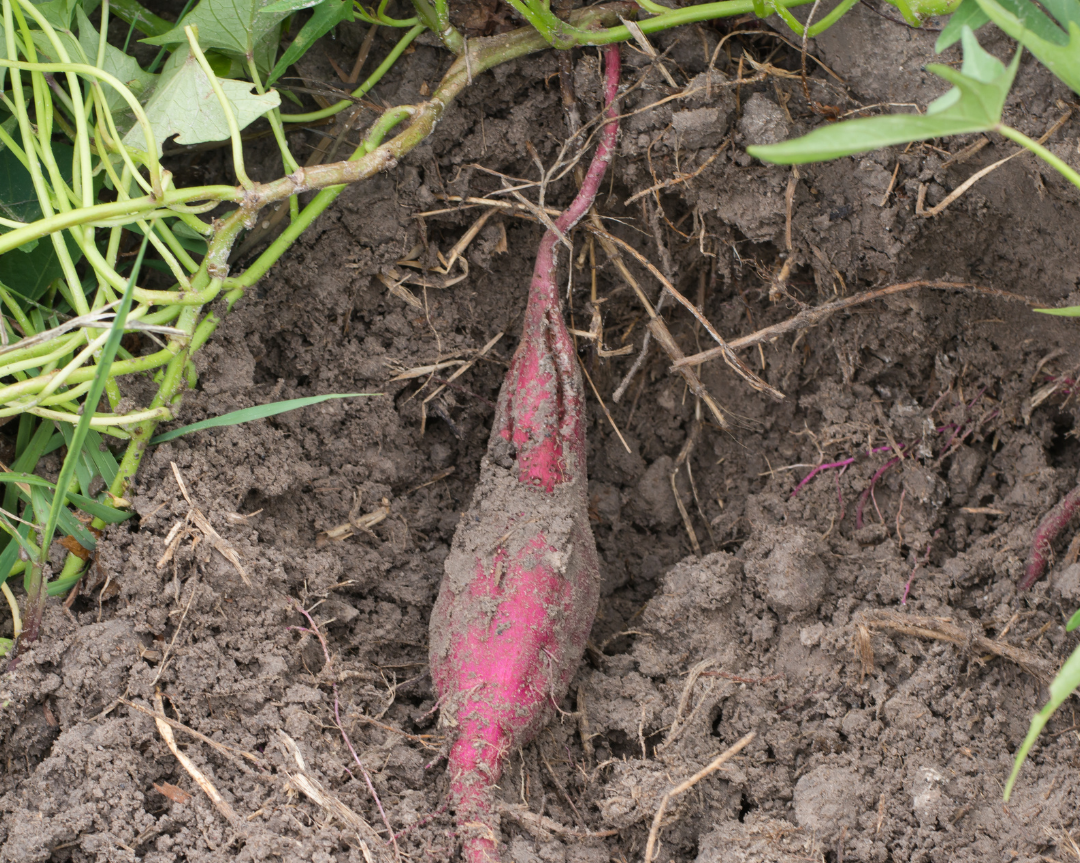
Preparing a Bed for Kūmara
Kūmara don't need a complicated garden setup
The important part is creating loose, warm, free-draining soil with plenty of room for the kūmara to develop.
Your bed can be in the ground, raised, mounded or even in a large container.
Short on space? There’s container-growing info further down too.
Choose a warm spot
Choose a sunny spot where water drains away easily rather than sitting in puddles after rain. Avoid low spots that stay soggy or waterlogged.
Kūmara love warmth, so wait until the soil has warmed and the risk of frost has passed before planting your slips outside. In much of New Zealand this is around late October to early November, although colder areas may need to wait longer.
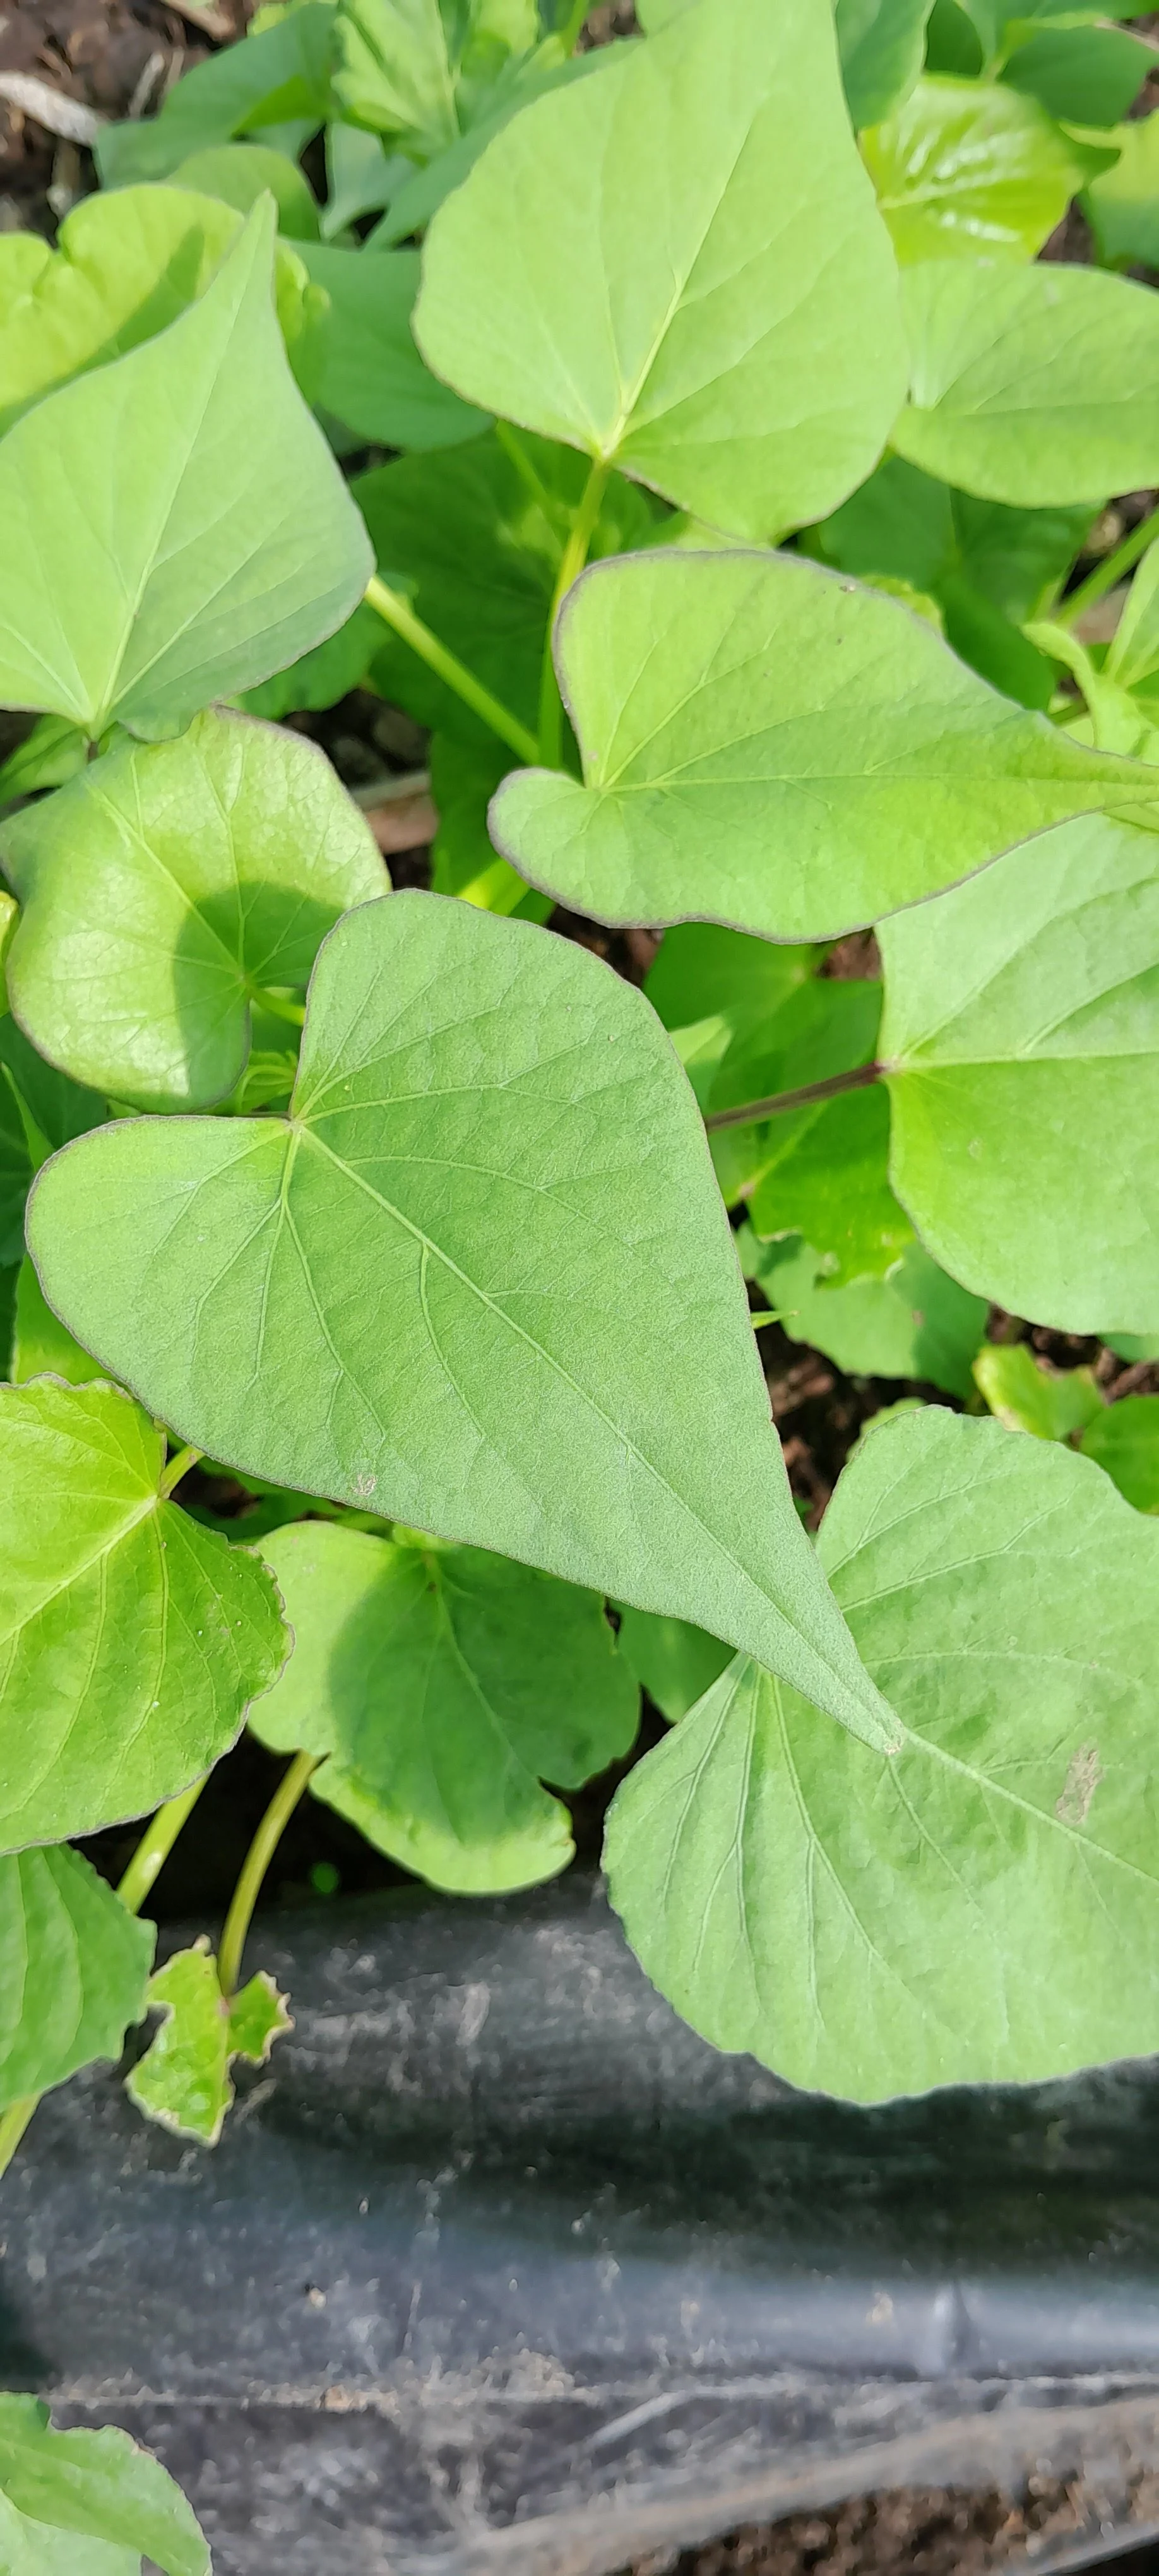
Loosen the soil
Clear away weeds or turf, then loosen the soil to around 25–30 cm deep.
This gives the developing kūmara plenty of growing space and can make harvesting easier later.
Break up compacted soil and remove large stones, thick roots and anything else that might get in their way.
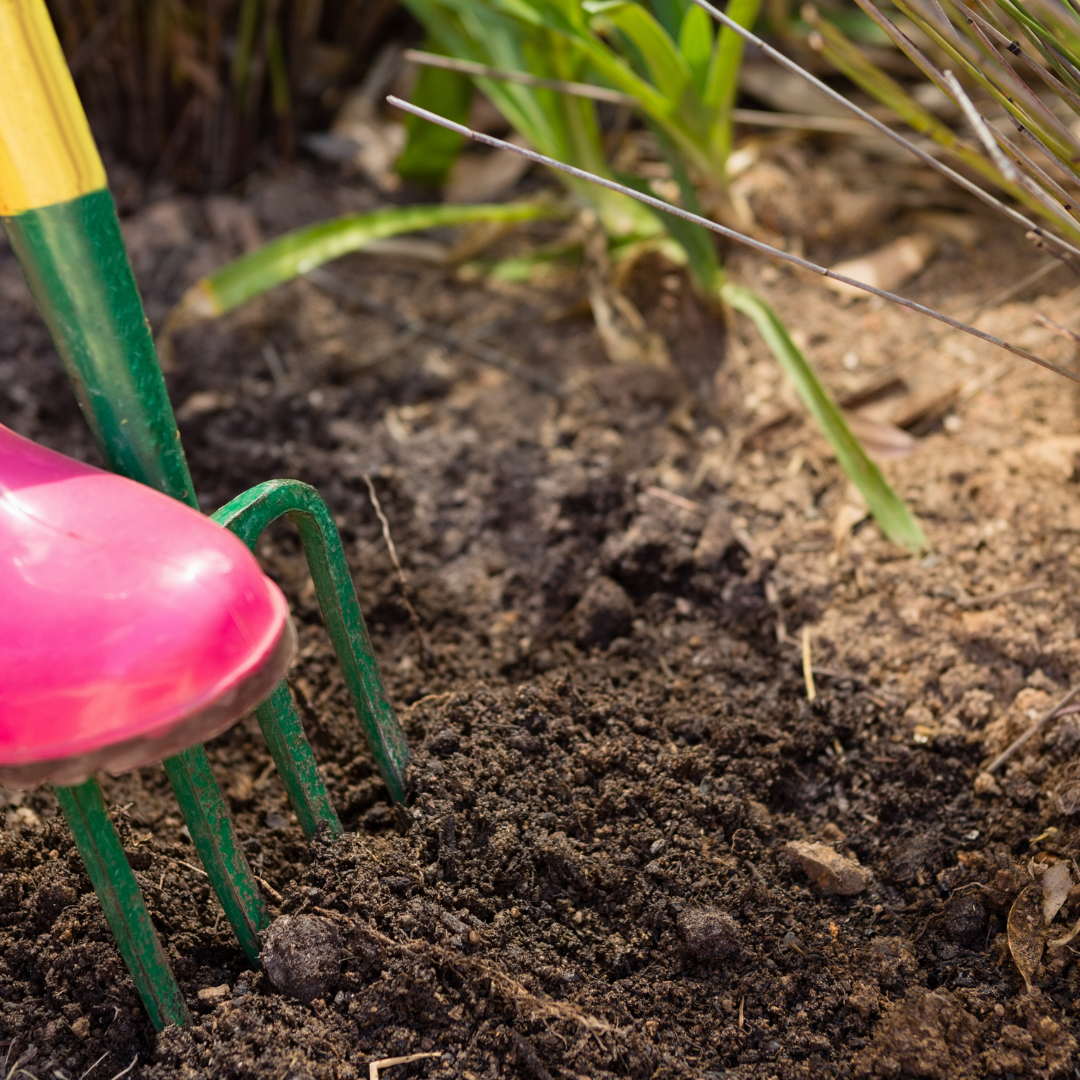
Aim for light, free-draining soil
If your soil is already loose and drains well, you may not need to add anything.
If it's heavier, the aim is to create a lighter growing area that excess water can drain through. Sand can be useful as part of a suitable soil mix, but adding a little sand alone won't fix very heavy clay.
If you're starting with heavy clay or very compacted ground, building a loose growing layer on top can be another option.
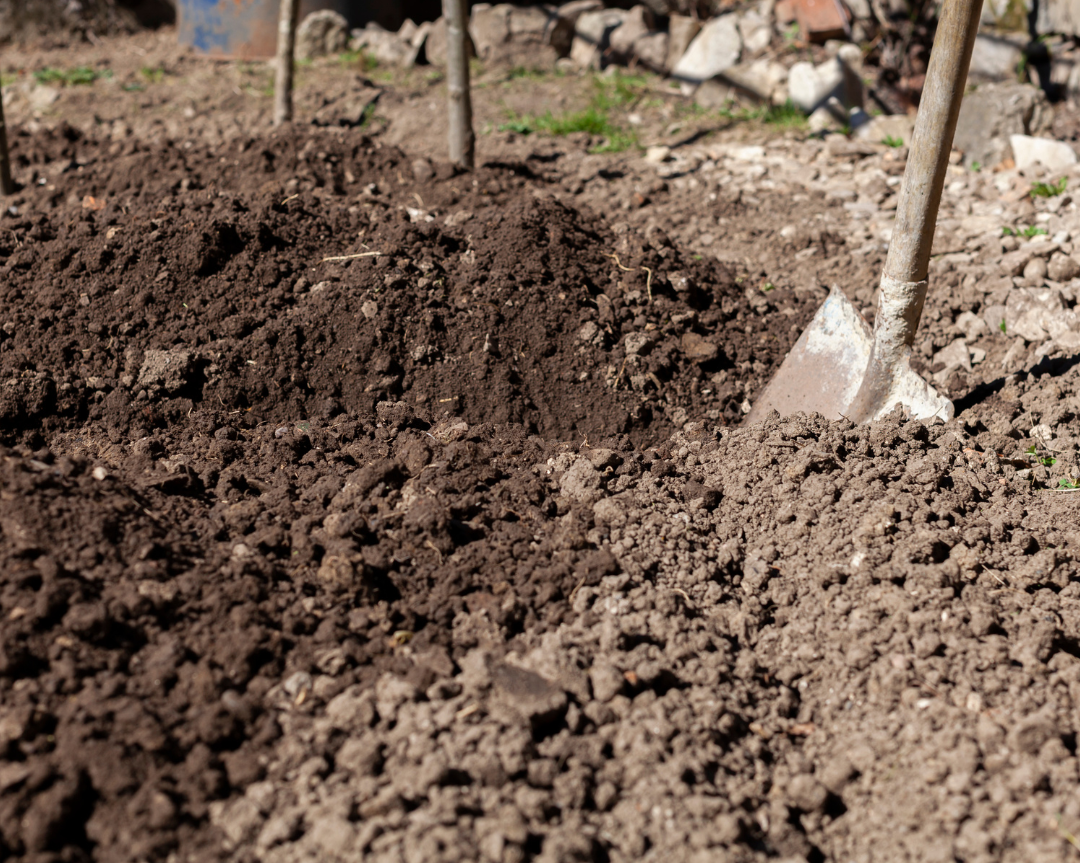
Starting with hard ground? Here's what I did
You don't necessarily have to dig deeply into very hard ground. Another option is to build a loose growing layer on top.
That's what I did in an unused area beside our driveway. The ground underneath was very compacted, so I built the soil up on top and shaped it into long beds.
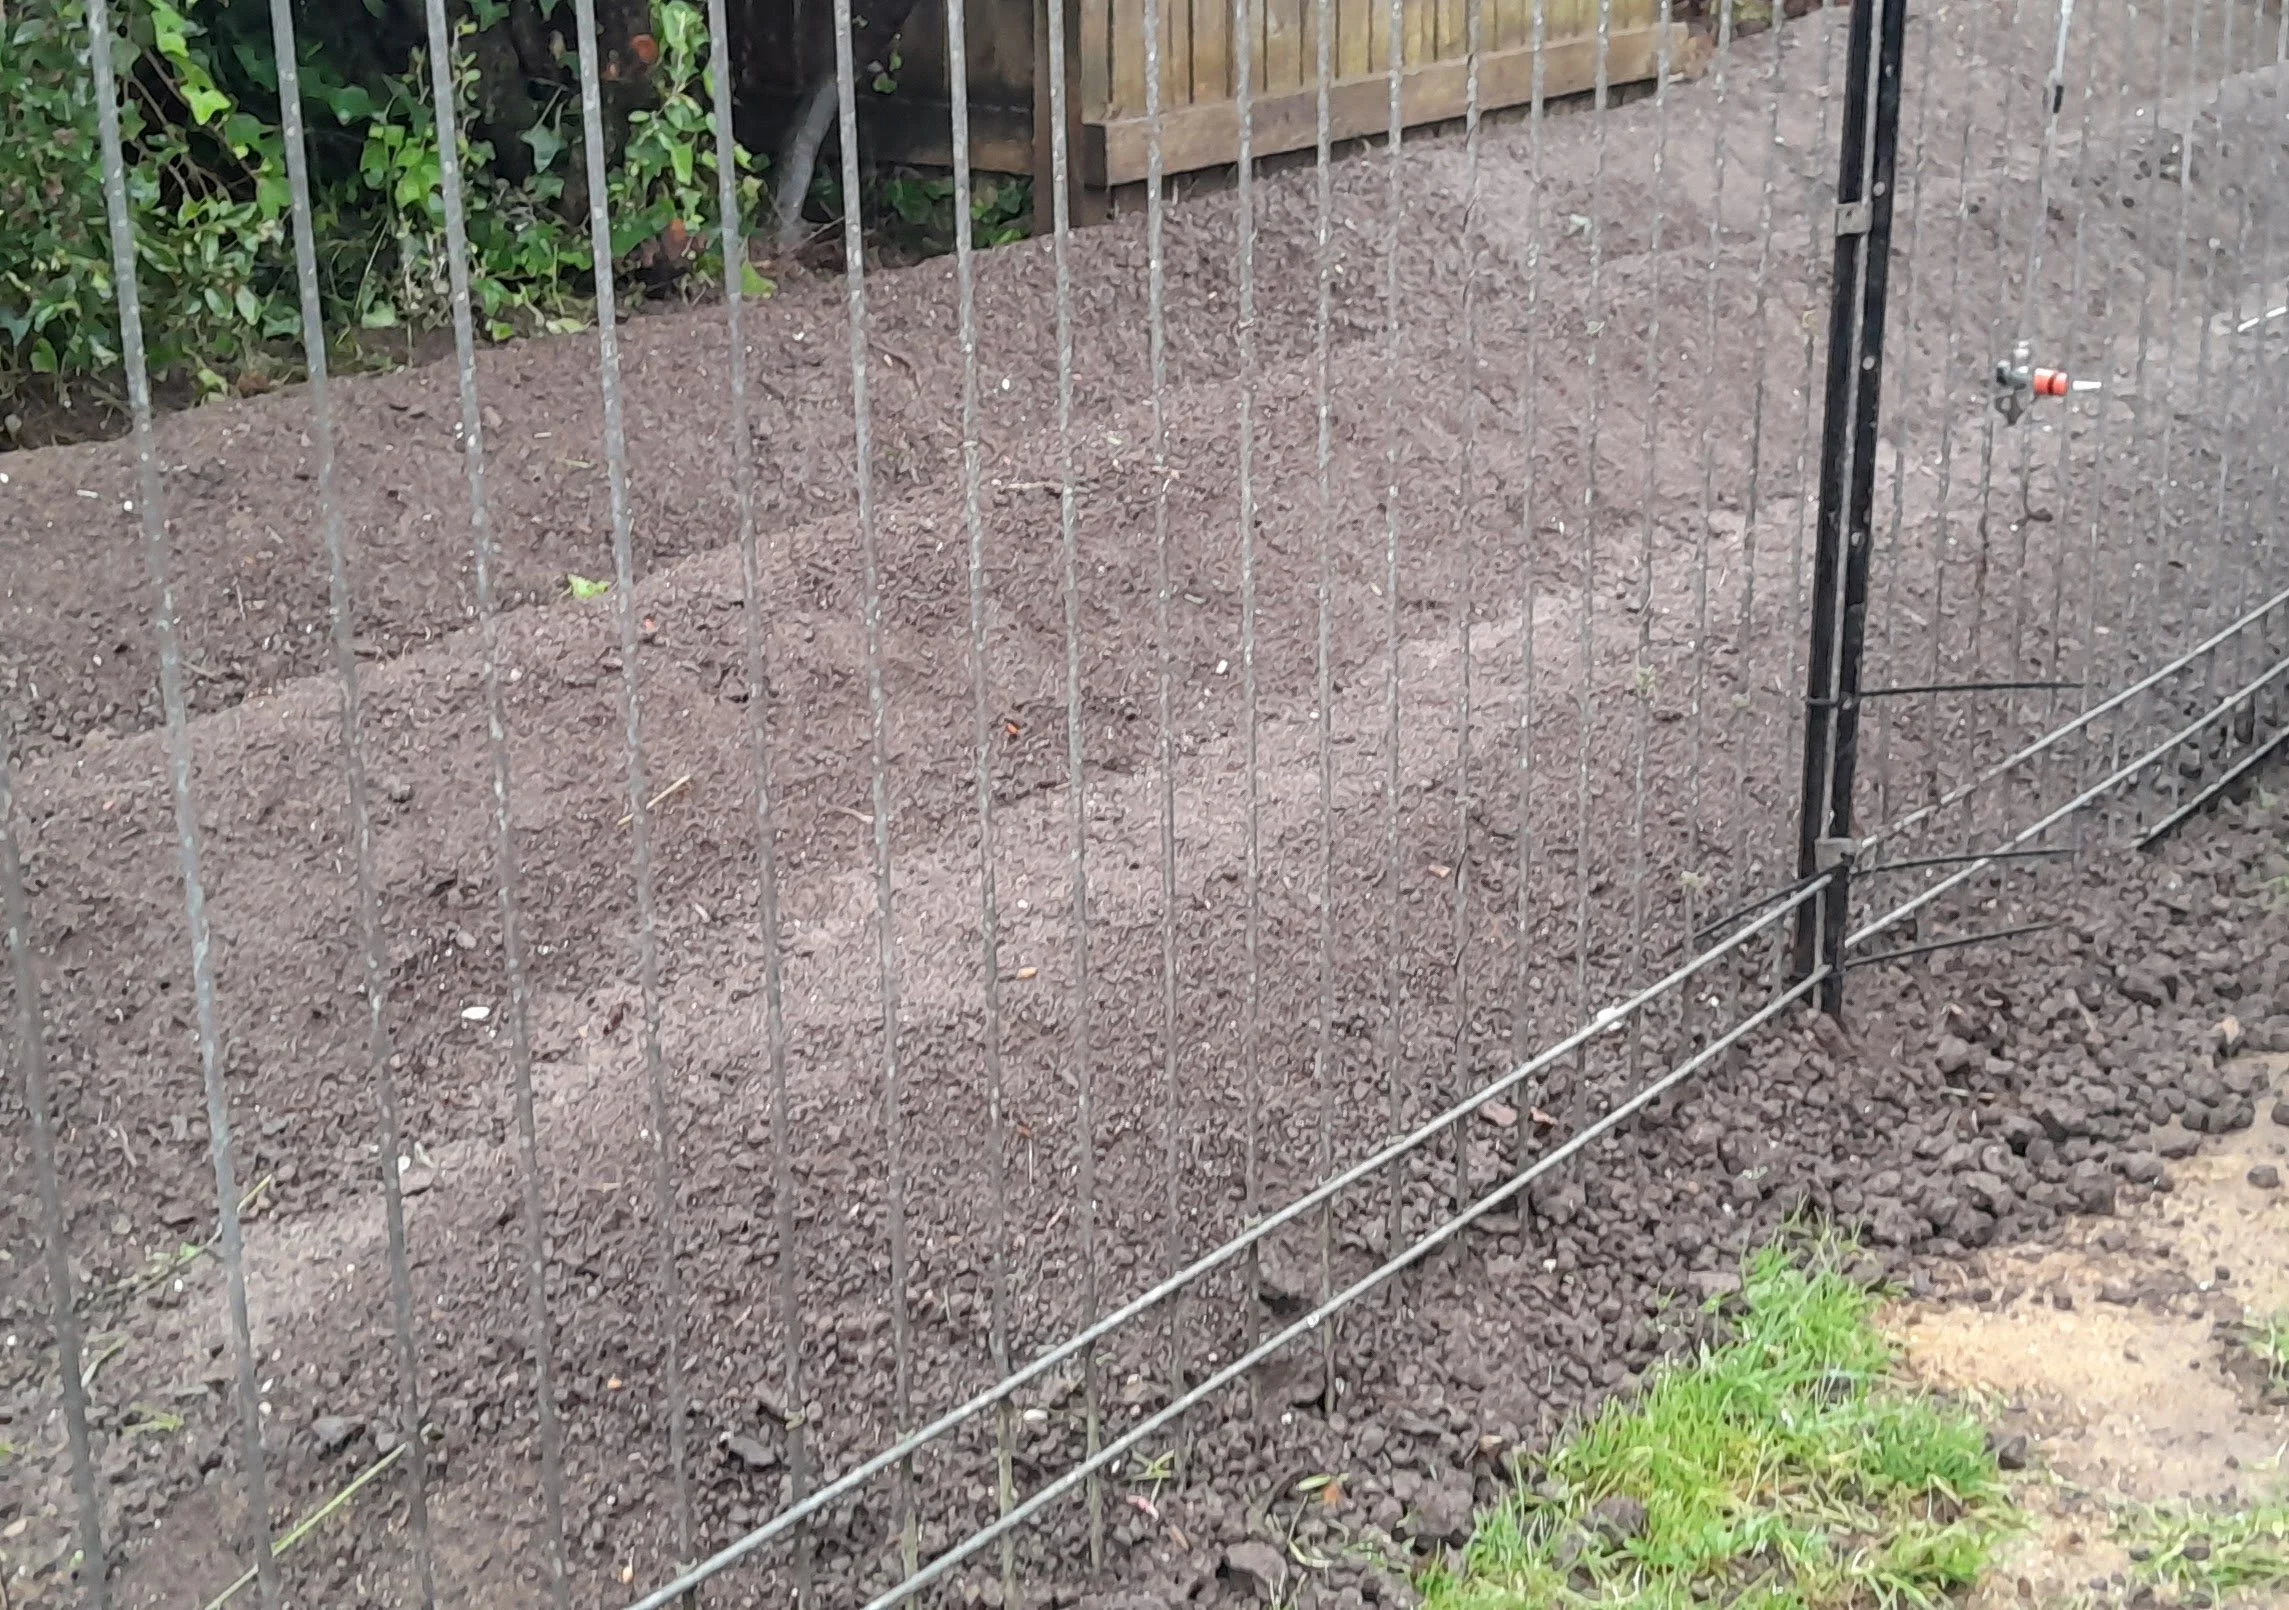
Shape your bed
There's no one way you have to set up a kūmara bed.
Kūmara can be grown in a regular garden bed, traditional mounds, a long slightly raised bed, a raised bed or even a large container.
If you're building the soil up, you can shape it into a broad, slightly raised bed with a gentle rise towards the middle. This helps with drainage and gives the developing kūmara plenty of loose soil to grow into.
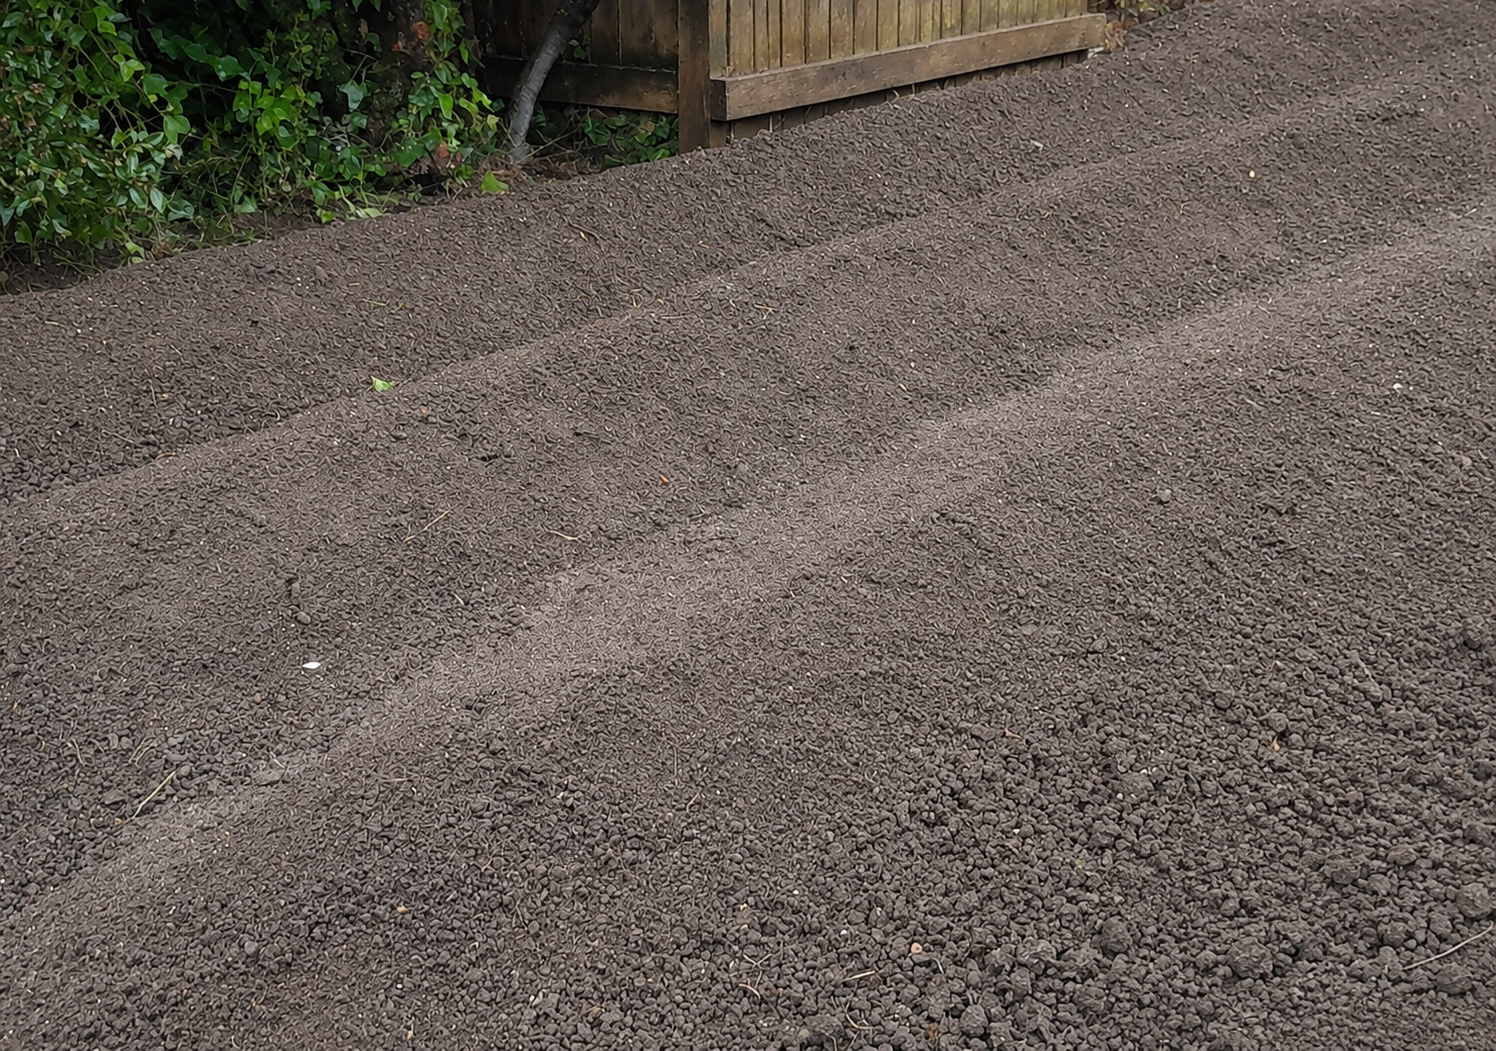
There’s no single shape a kūmara bed needs to be. What matters is giving the kūmara around 25–30 cm of loose, free-draining growing soil.
Growing in a container?
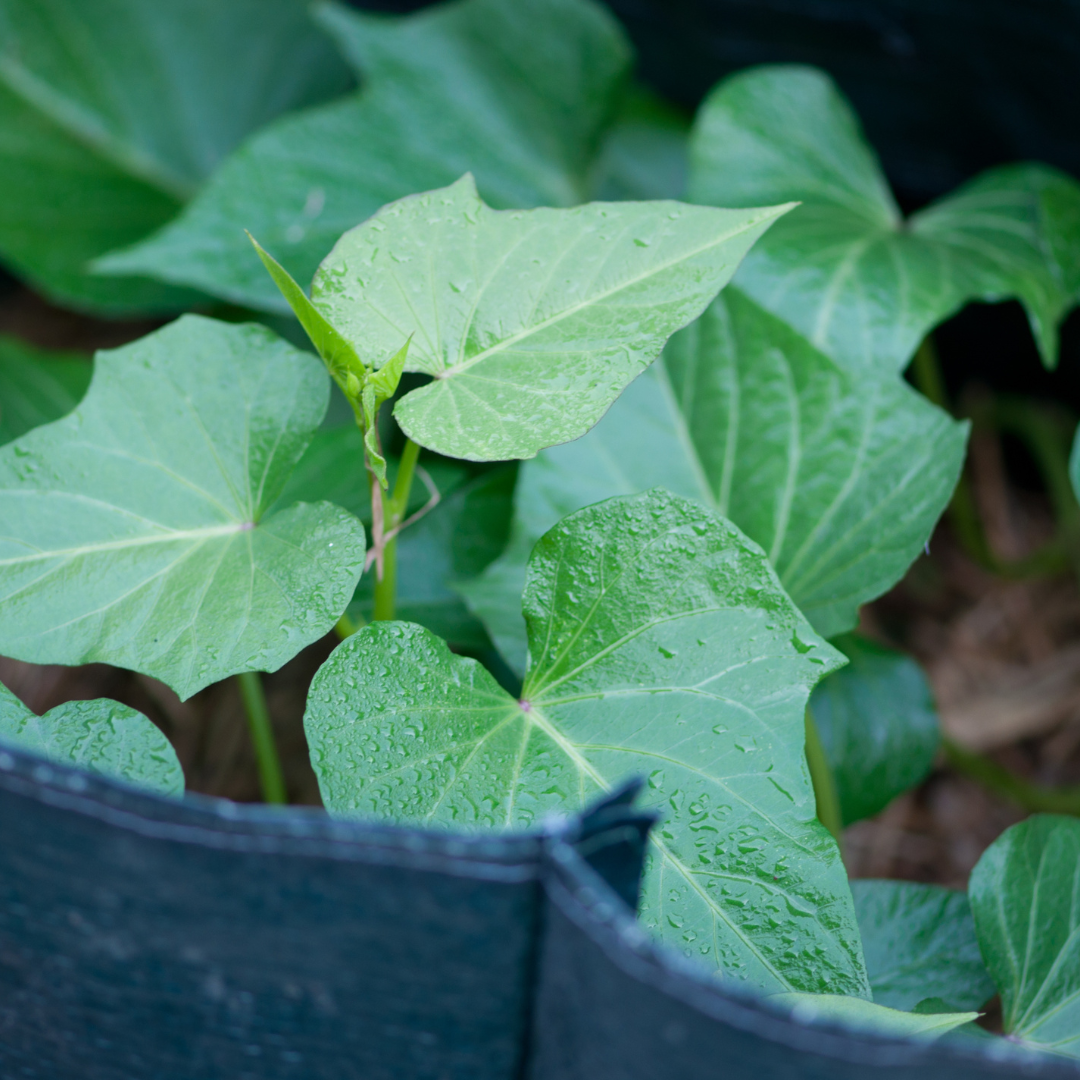
You don’t need a large garden to grow kūmara. They can also be grown in a deep container with plenty of drainage holes.
Choose a container with plenty of room for the roots to develop. The vines can trail over the sides or spread into the surrounding area.
Fill it with a loose, free-draining growing mix. A good-quality potting or vegetable mix can work well. Avoid filling the container with heavy garden soil that can compact or stay waterlogged.
You could use a large planter, half barrel, grow bag or other sturdy container with good drainage.
Go easy on compost and manure
Kūmara don't need heavily fertilised soil.
Too much nitrogen can encourage lots of leafy vine growth rather than putting that energy into developing good-sized kūmara underground.
If your garden soil already grows plants reasonably well, or you've added compost to it in the past, you probably don't need to add more just for the kūmara.
If you're starting with very poor soil — for example, soil that's low in organic matter and struggles to grow much — a small amount of well-aged compost can be mixed through.
Give the vines room to spread
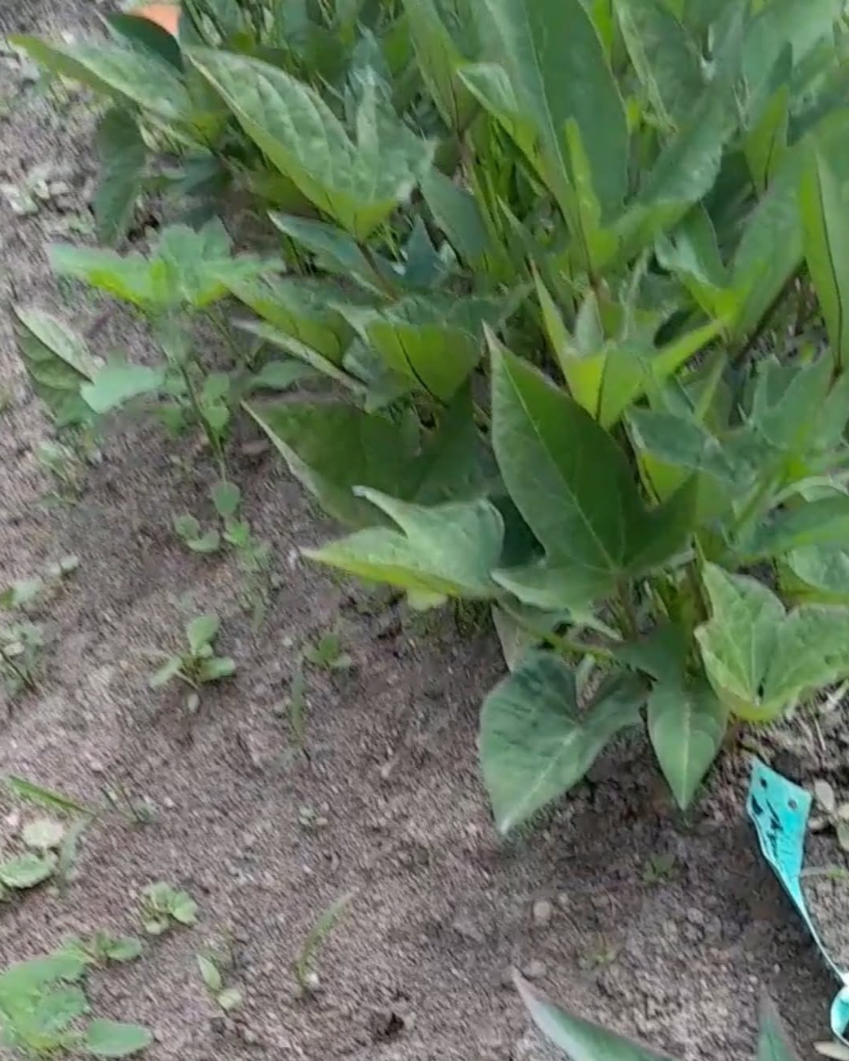
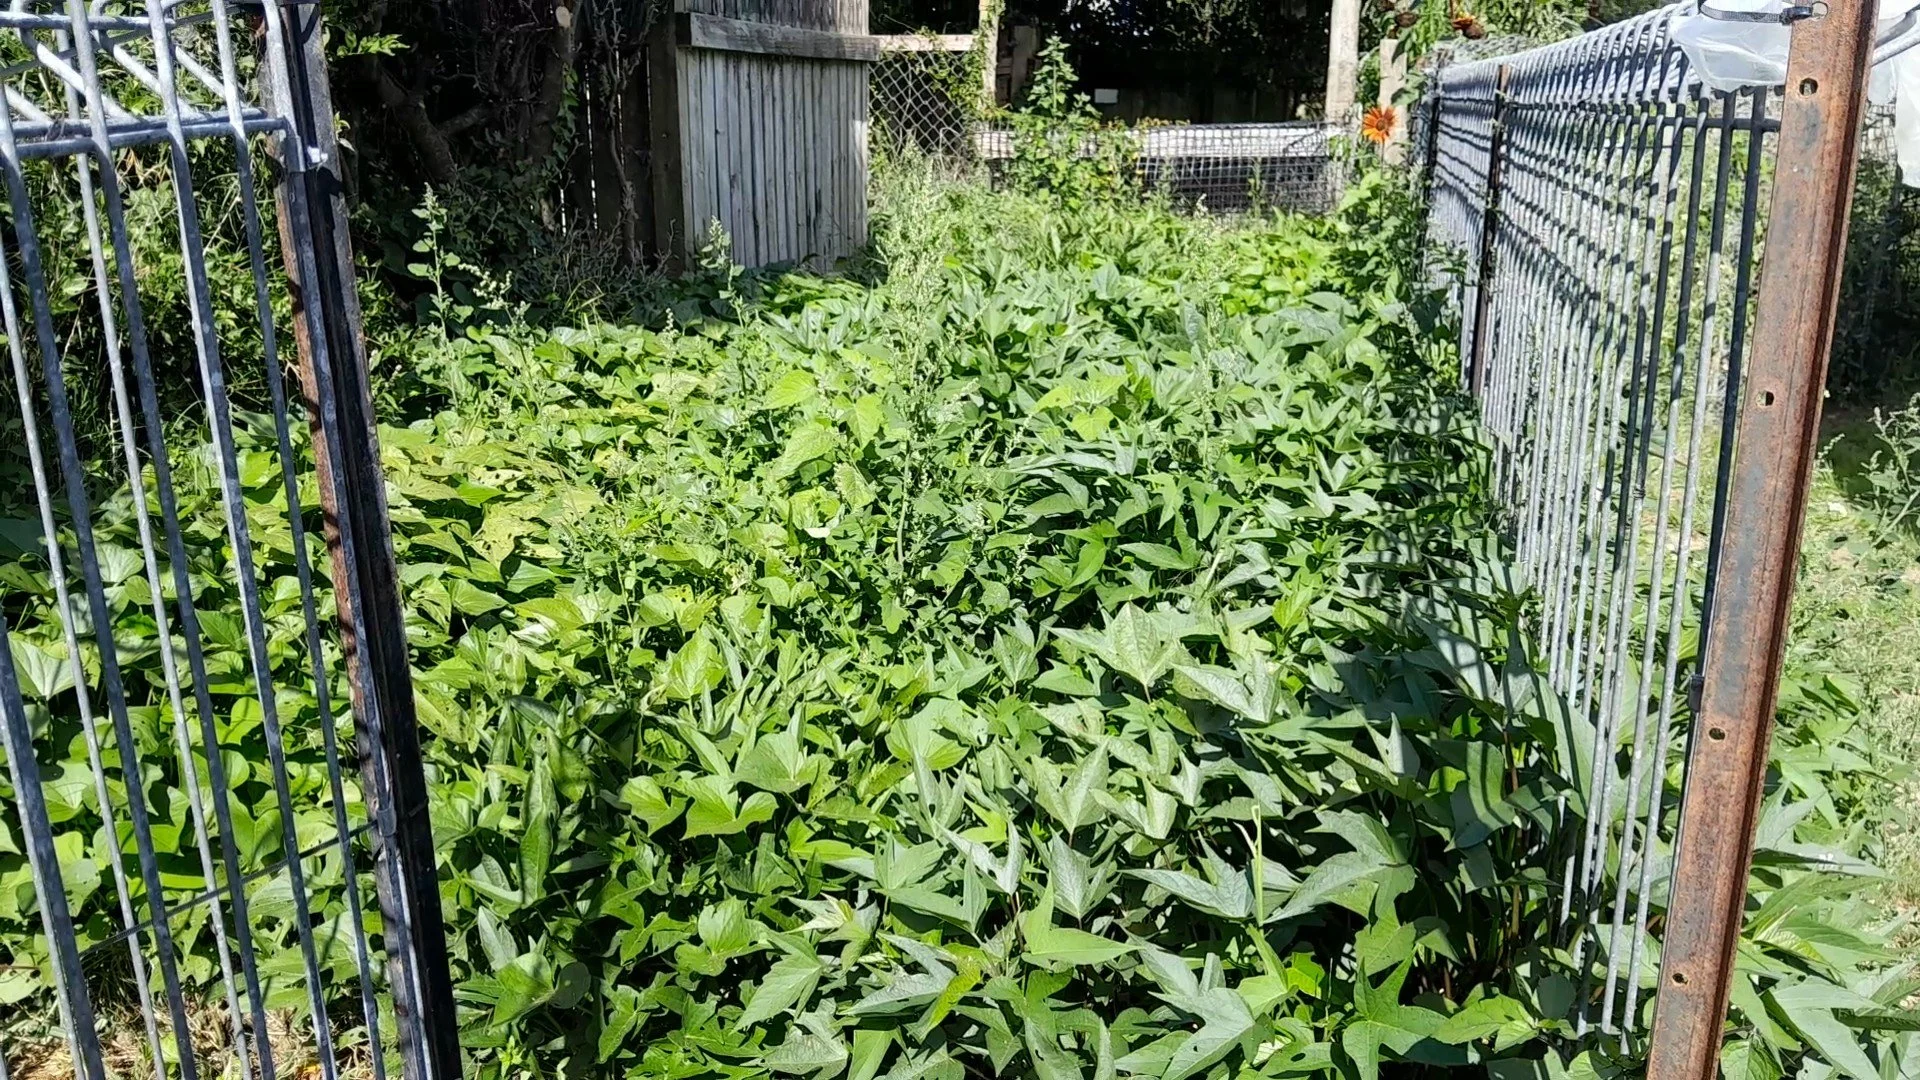
Once kūmara get going, the vines can spread much further than you might expect.
Give them some room where you can, but don't worry if your patch ends up looking a little wild.
Ready for the next step?
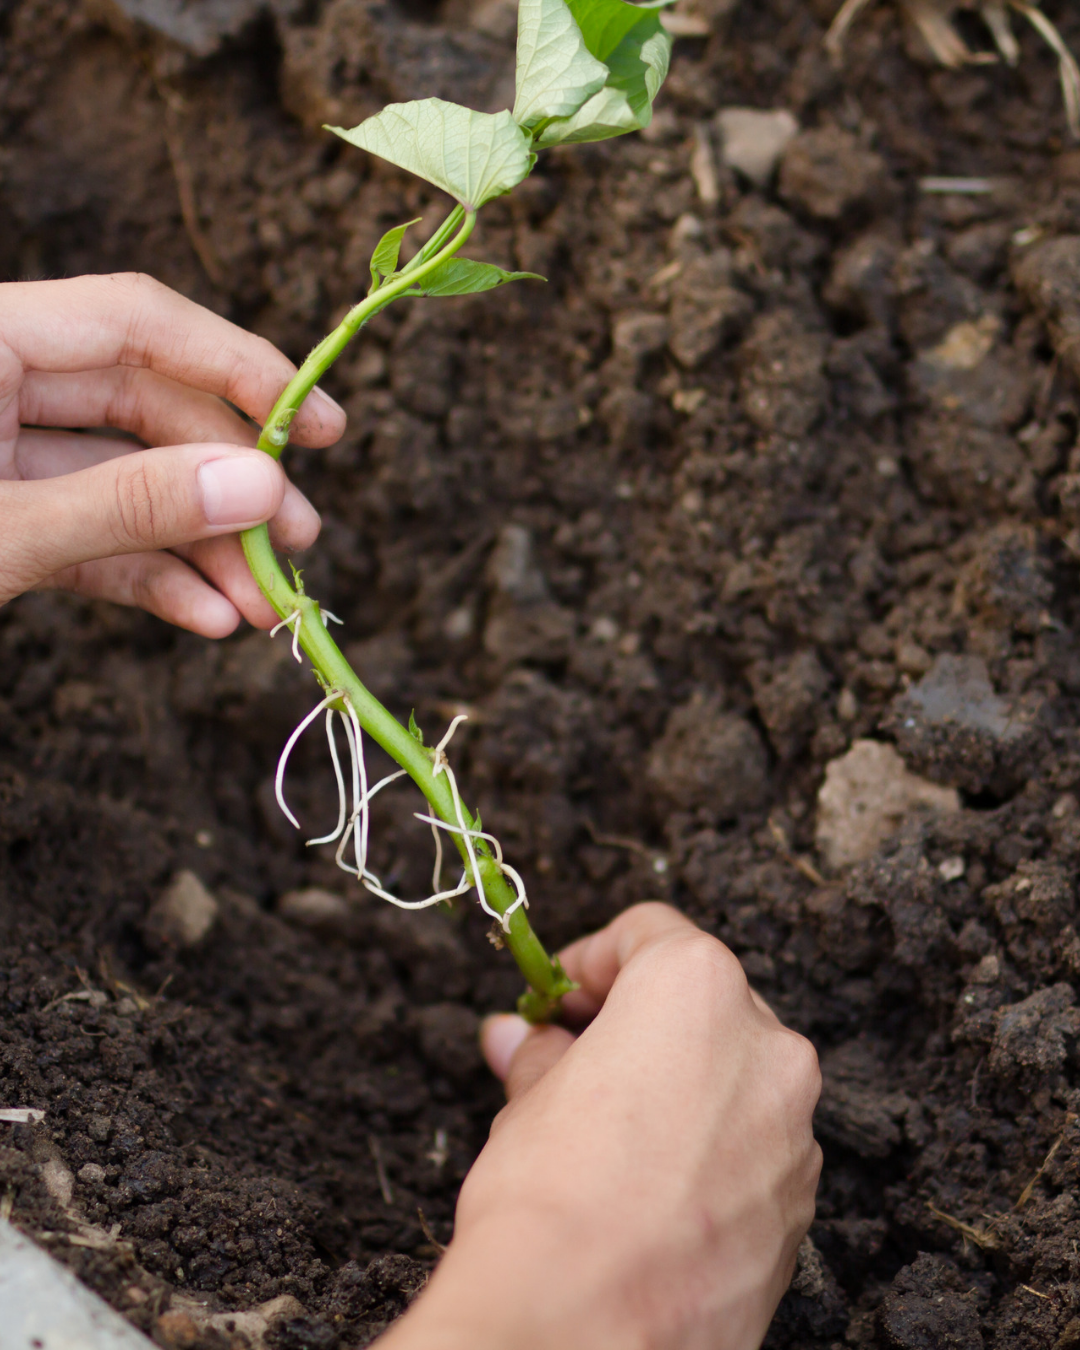
Once your kūmara slips are growing and your bed is prepared, the next step is planting them out. Wait until the soil has warmed and the risk of frost has passed.
Coming soon: How to Plant Kūmara Slips
The next guide will cover when your slips are ready to plant, how to plant them, spacing, and what to do as the vines start growing.
Need to start your slips first? Learn two easy ways to grow kūmara slips at home.
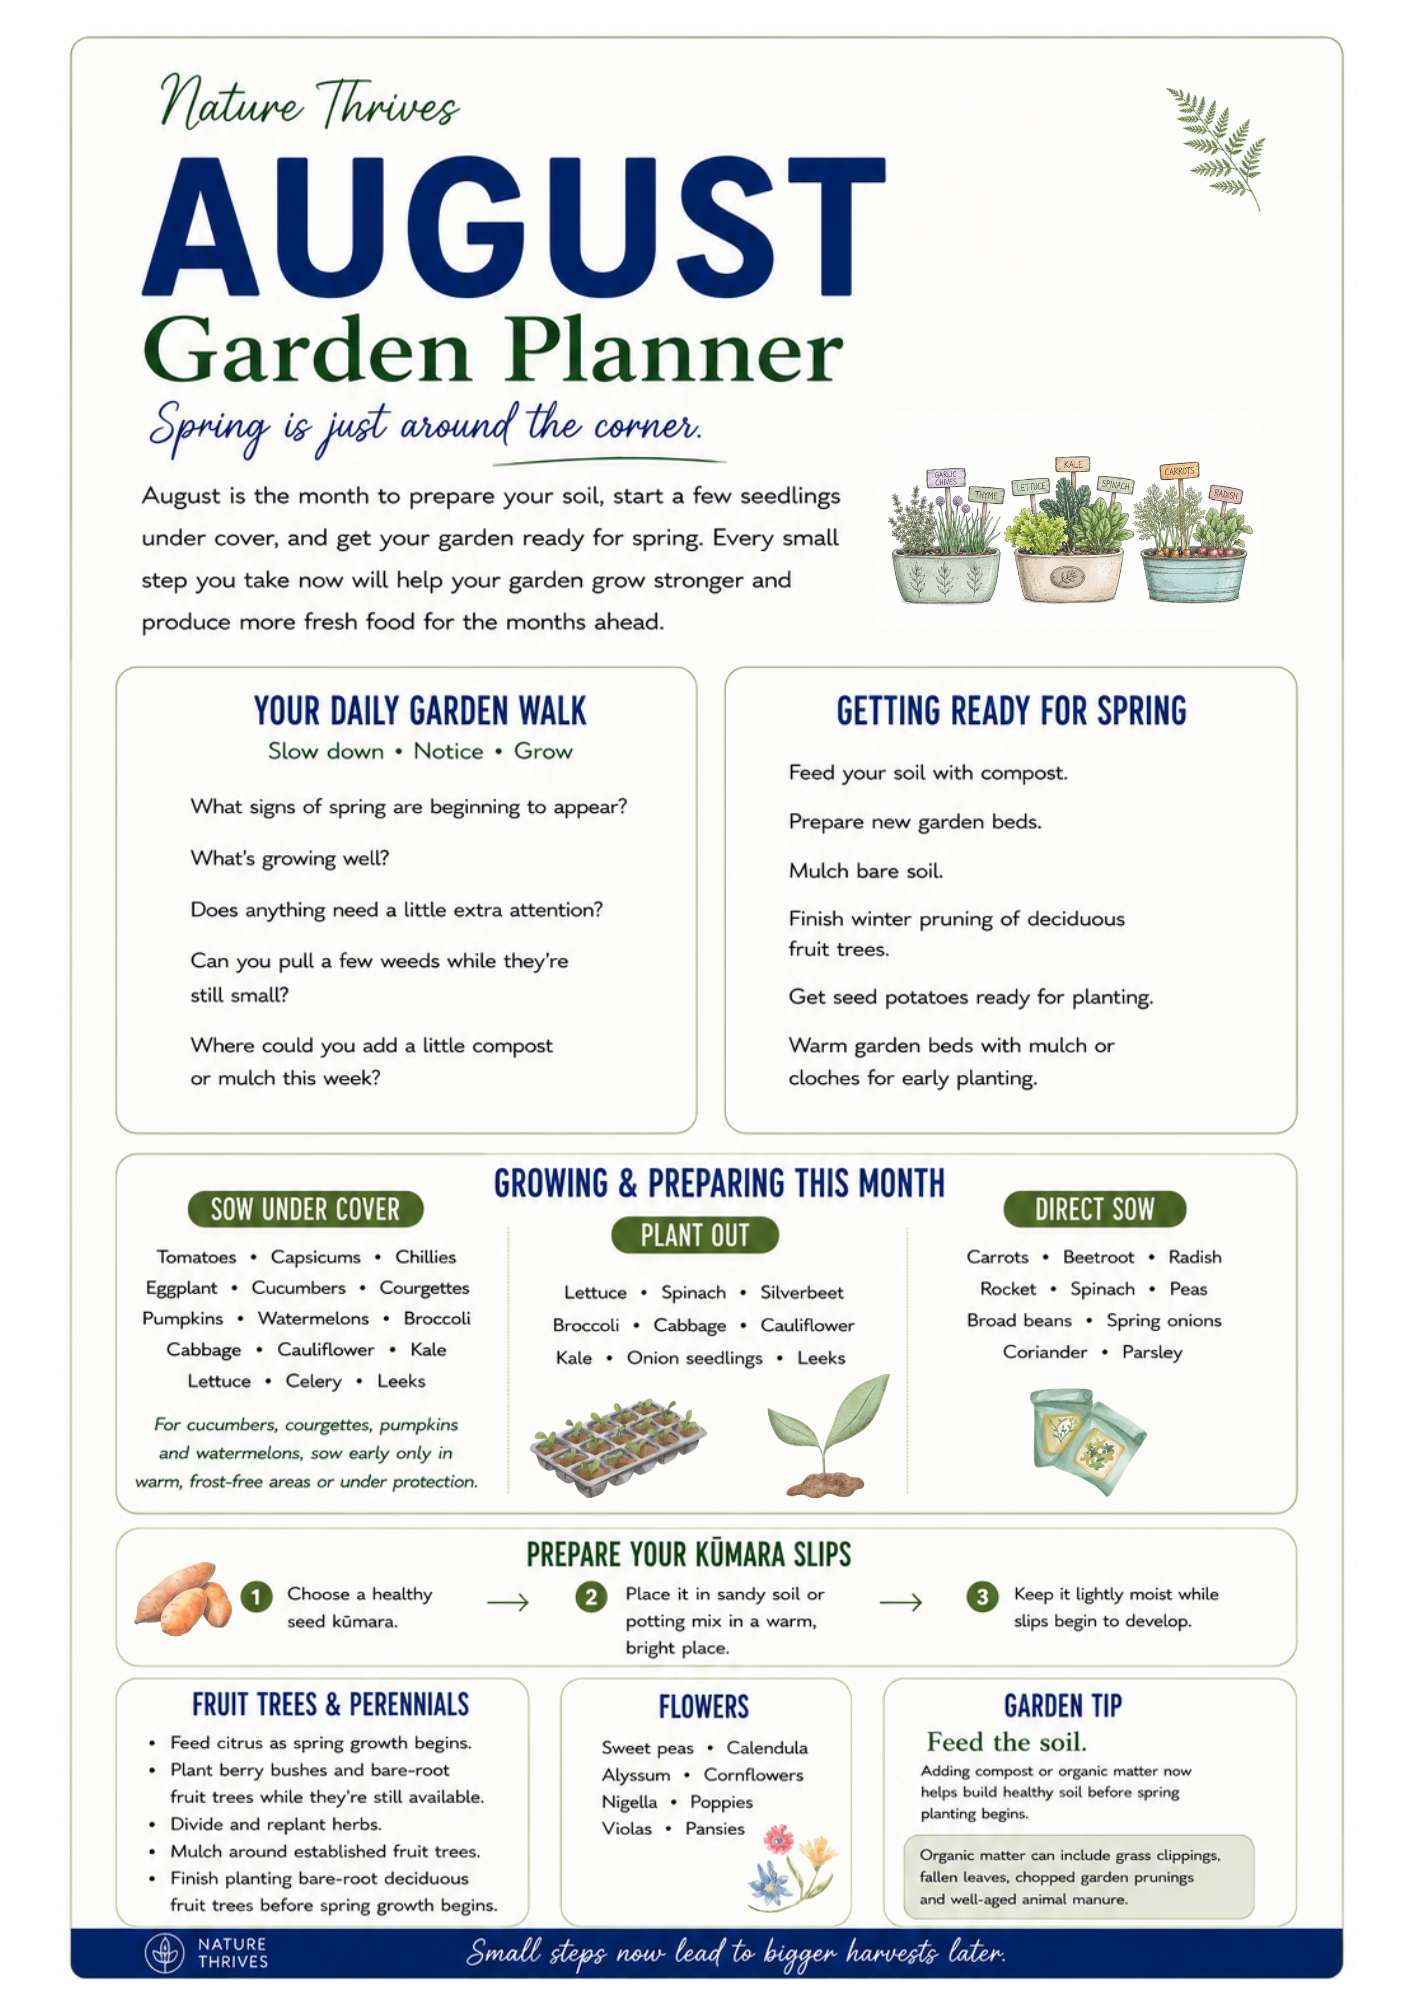
Free August Garden Planner
Not sure what else to get started in the garden this month? See what to sow, plant and prepare now.
Helping more people grow some of their own food
My goal with Nature Thrives is to make growing food feel simpler and more achievable, with practical information that’s easy to follow.
If you’ve found this guide helpful and you’re able to, joining Grow Club is one way you can help me keep creating and sharing free growing resources like this.
Keep growing with Grow Club
Grow Club gives you month-by-month seasonal garden ideas, practical tips and resources to help you know what to sow, plant and do throughout the year.
Members also get access to Nature Thrives growing guides and printable resources, with more added over time.
Your first month is free, so you can have a look inside and see if it’s for you. It’s $4.99 NZD a month after that.